
Nail tips nails are one of the simplest ways to turn short natural nails into longer, more stylish ones without paying salon prices. At the start of my interest in these designs, I was intrigued by almond, square, and coffin shapes that I kept seeing on the web. I questioned if I could replicate them on my own as well, which drove me to experiment and subsequently discover that products and techniques were the key for achieving beautiful results, rather than the particular design. In this article, I will present nine pieces of advice based on my experience, including getting the correct sizing and taking the top off.
What Are Nail Tips, and Why Do People Love Them?
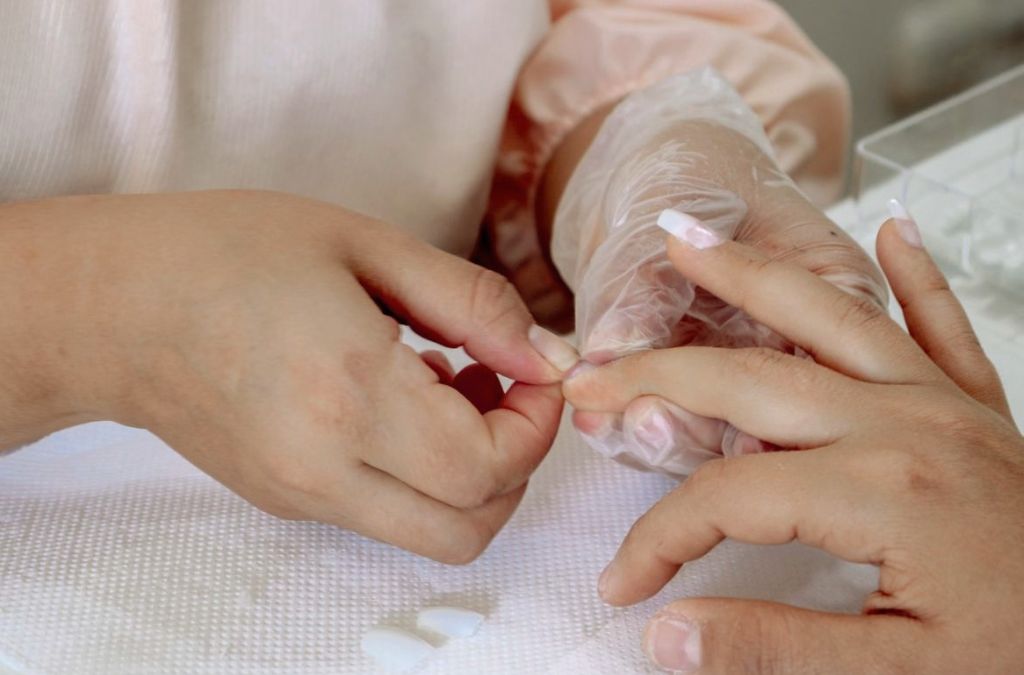
Nail tips are artificial extensions that are typically made out of plastic and are glued onto your nails. They make your nails longer and uniform in shape and help to apply nail polish, gel, or nail art.
There are a number of reasons why nail tips are popular. One reason is because they are inexpensive when compared to regular salon services. People can also play around with different aesthetic options. Also, there are some tips that come pre-coloured or pre-designed, thus making the work easier.
Lesson 1: Choose the Right Nail Tip Shape for Your Lifestyle
Shape changes both the look and the comfort of your manicure. From my experience:
- Short square tips are excellent for regular use as they feel strong and do not catch on things easily.
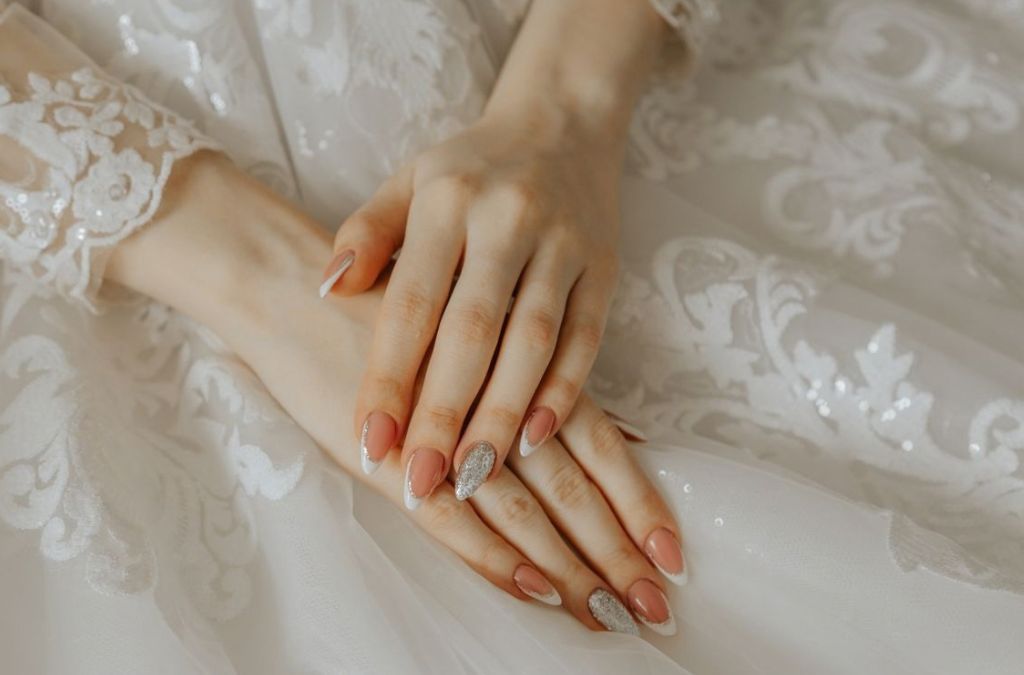
- Almond tips have a classy appearance and make fingers look thinner, which makes them perfect for occasions that require dressing up.
- Coffin tips give a stunning impression, but require maintenance due to their longer and flatter shape.
If you are new to nail tips, I suggest starting with a shorter square or short almond. A manageable length lets you get used to typing, cooking, and daily tasks before trying anything longer.
Lesson 2: Getting the Size Right Changes Everything
The biggest difficulty for me at first was figuring out which size I needed. Some tips I thought were ideal felt terrible when I put them on, and others were just too big when compared to my nails.
A well-sized tip fits comfortably from side to side and does not push against the surrounding skin. A tip that is too small will feel very tight and may look awkward. A tip that is too large may end up lifting on the sides. Now, I lay all my tips in a row, match them to each finger, and keep one or two different sizes just in case I need a different size for the thumbs or pinkies. These extra minutes of work make the final result look much better!

Lesson 3: Preparation Is the Real Secret
If there is one thing I would repeat to every beginner, it is this: nail preparation determines the longevity of your tips. Applying tips on greasy or dirty nails will lead to lifting or falling off unexpectedly.
My straightforward nail prep procedure is as follows:
- Thoroughly wash and dry your hands.
- Push back the cuticles gently.
- Buff the shine from the natural nail just enough per the manufacturer’s directions.
- Wipe down each nail using a lint-free pad with nail cleanser or alcohol to ensure there is no oil remaining on it.
Through my experience, I have come to learn that excessive filing is bad for natural nails, and gentle prep is better than aggressive buffing. Follow the instructions provided by the adhesive manufacturer, as each glue and system has slightly different requirements for application.
Lesson 4: Use the Right Amount of Glue
In the beginning, I applied excessive nail glue, which resulted in messy edges and overflowed onto my skin. In later attempts, I also applied insufficient glue, leaving spaces and weak places where the tip was able to peel off.
Now, I use a thin and uniform layer of glue on the tip and a little dot on the real nail if this step is suggested in the guidelines. I have also learned how to accurately position each tip; I place it at the area of the cuticle, press it from an angle to prevent bubbles, and wait for a few moments until it sticks. Whenever a tip feels too tight or painful, I don’t try to push it to fit, but instead opt for a larger size.
Lesson 5: Shape and Blend for a Natural Finish
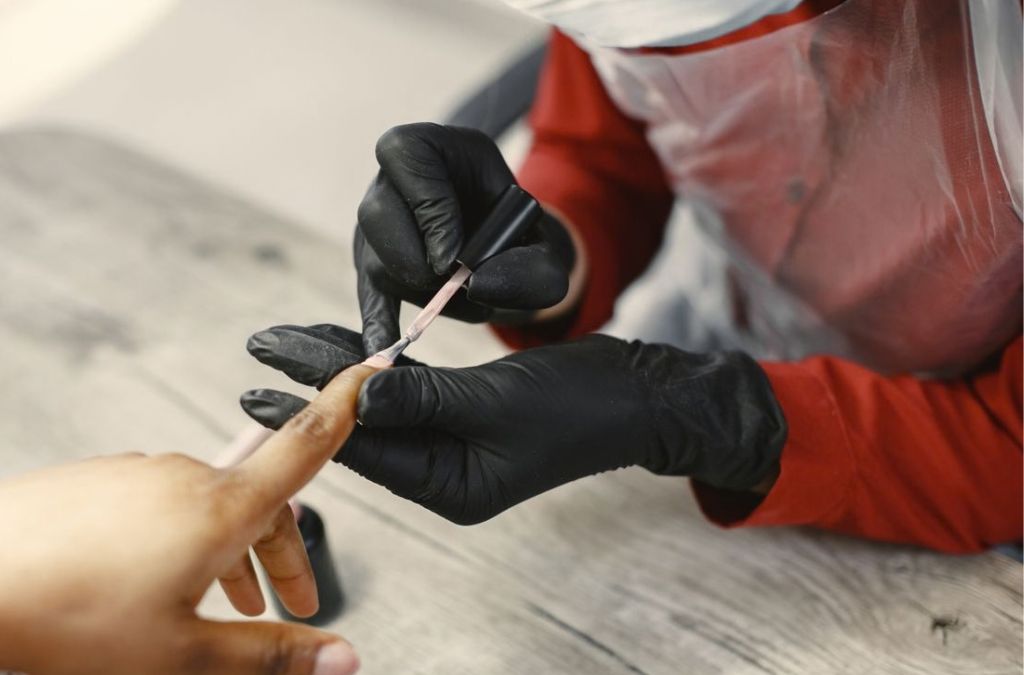
Once the adhesive has dried, it is at the shaping phase where the visual impact is felt the most. Carefully use a file to mold the free edge of the nail. Make sure that the point of connection between the tip and the natural nail is smooth so that there is no visible ridge. A clean blending process makes nails look as though they grew naturally that way.
Take your time and use a fine file for this procedure. If you try to hurry this process, you could end up with jagged edges or places that could be prone to breaking.
Lesson 6: Have Fun With Polish and Nail Art
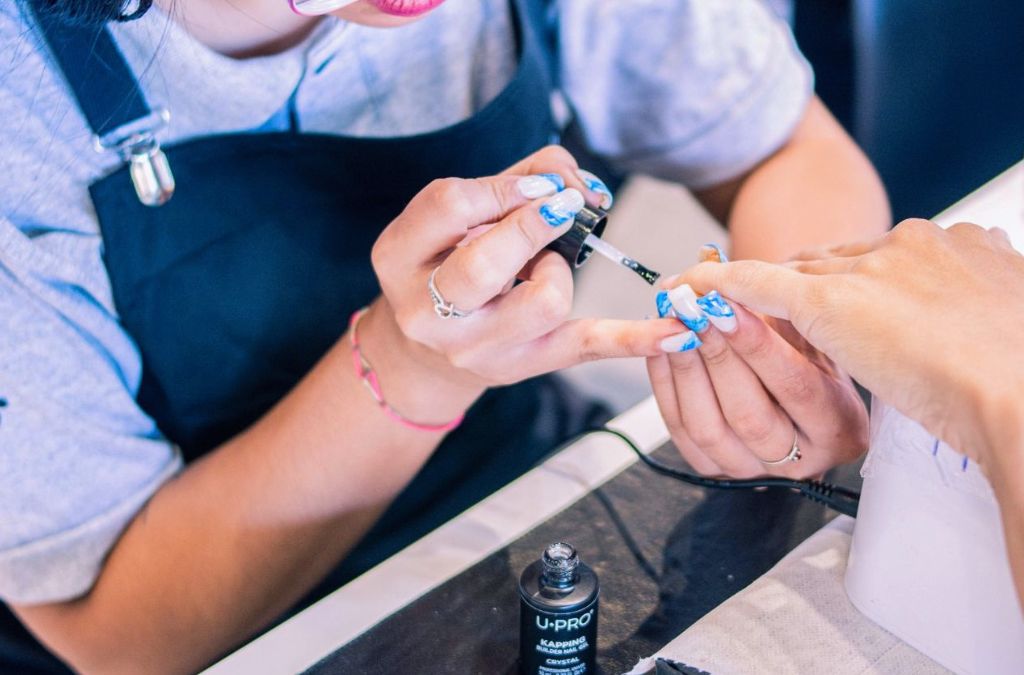
This is the part I enjoy most. Nail tips provide a smooth, even base, which makes it simple to explore different nail polish colors and creative nail art. A few ideas I like:
- Soft nude or milky pink for a clean, everyday look
- Glossy red for a classic, polished style
- Simple French tips for a timeless finish
- Small accents like a single decorated nail for a subtle touch of creativity
Always let each layer of polish dry fully before adding the next, and finish with a top coat to protect the color and add shine.
Lesson 7: Daily Care Helps Your Tips Last Longer
Nail tips are not meant to be treated like tools. A few habits that help mine last:
- Avoid using your nails to open cans, scrape stickers, or pry things apart.
- Wear gloves when washing dishes or using cleaning products.
- Use cuticle oil daily to keep the surrounding skin soft and healthy.
- Be careful with very hot water for long periods, since it can affect some adhesives.
If a tip begins to lift, take care of it right away rather than ignoring it, because trapped moisture can cause problems for the natural nail underneath.
Lesson 8: Remove Nail Tips Carefully, Never Pull or Peel
This is probably the most important lesson to learn in this process. Pulling or peeling off nail tips can take away some of the natural nail too, leaving it thin and weak. Wrongly removing the tips can cause much more damage than the tips themselves.
It is important to choose the right method depending on the adhesive or enhancement system used. In general, it is safe to use the gentle method which involves softening the adhesive with the recommended removers, waiting, and then removing the tip calmly. If it does not come off easily, you need to soak it longer and not pull it off as this can take away some of the natural nail. Then, wash your hands and apply some cuticle oil to restore comfort to your nails.
Lesson 9: Give Your Natural Nails a Break When Needed
Even in cases of proper nail treatment, allowing your natural nails a break occasionally is a good practice. I look after my nails between sessions by keeping them clean, trimmed, and hydrated enough. If your nails feel irritated, seem discolored, or appear too thin, stop using artificial nails and consult a nail specialist or physician. Healthy natural nails provide a strong base for every successful manicure.
Common Beginner Mistakes at a Glance
Here is a quick summary of the mistakes I made or saw most often:
- Choosing a tip that is too wide or too tight
- Skipping nail cleaning and leaving oil on the surface
- Using too much or too little glue
- Over-filing the natural nail
- Forcing a tip that does not fit
- Peeling tips off instead of removing them gently
Avoiding even two or three of these will noticeably improve your results.
Frequently Asked Questions
Are nail tips nails suitable for beginners?
Yes, especially if you start with a short, simple shape and take your time with sizing and preparation.
How long do nail tips last?
It depends on preparation, adhesive, and daily habits. With good prep and care, many people enjoy their set for a couple of weeks, though results vary.
Do nail tips damage natural nails?
The tips themselves are not usually the problem. Over-filing, poor application, and pulling them off are the most common causes of damage.
What is the best shape for short nails?
Short square and short almond are both comfortable starting points and look flattering on most hands.
Can I put regular nail polish on nail tips?
Yes. Nail tips make a smooth base for polish and nail art. Apply thin coats and let them dry fully.
My Final Thoughts on Nail Tips Nails
The knowledge I acquired about nail tips has made me realize that an attractive nail design is not just a matter of picking an unusual design. The essential aspects are correct measurements, a careful application, convenience of use, and removal of the nails.If you are a beginner who would like to try to apply nail tips at home, I recommend you be patient and use a manageable length of nails. Besides, make sure your natural nails look healthy.

Modern Lifestyle Center is a fashion and beauty publication sharing the latest trends, beauty tips, nail art inspiration, personal styling, and lifestyle ideas. Our mission is to provide helpful, trustworthy, and inspiring content that enhances everyday beauty and personal style.