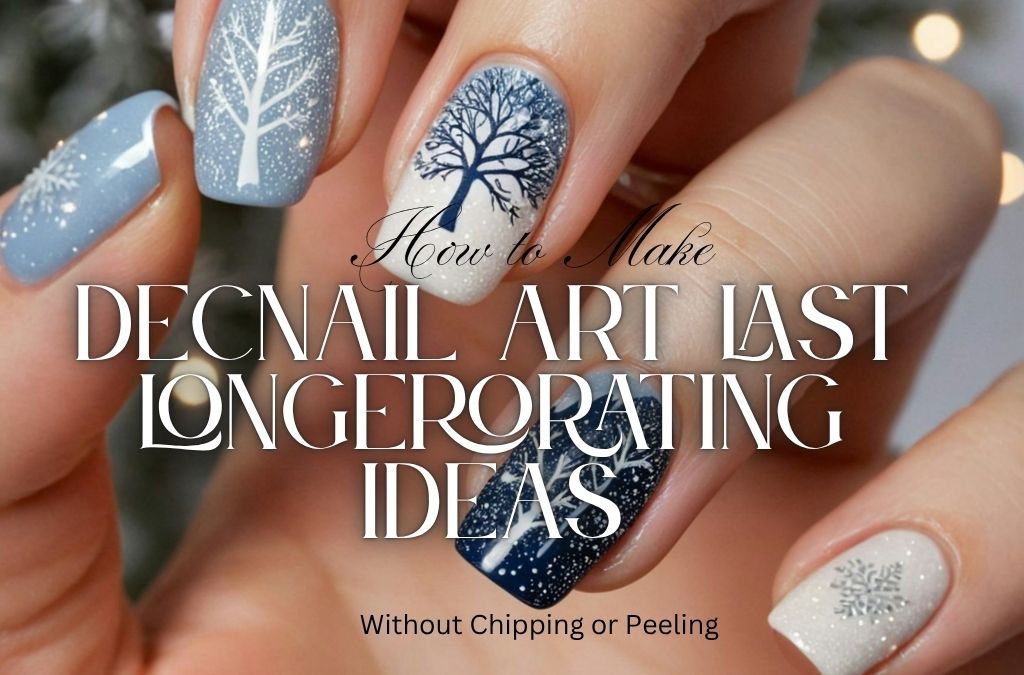
When I first started experimenting with nail art at home, my biggest frustration was watching my designs chip or peel after just a few days. I would spend an hour choosing colors, building patterns, and carefully applying polish, only to find tiny chips along the edges by the third day. It felt unfair. Over time, I learned that making nail art last longer isn’t about buying the most expensive polish. It’s mostly about preparation, careful application, and a few simple daily habits.
In this guide, I’ll share what worked for me, along with practical steps you can follow at home. Whether you are a beginner or someone who paints your nails every week, these habits can help your manicure stay fresh and attractive for much longer.
Why Nail Art Chips and Peels in the First Place
Before fixing a problem, it helps to understand it. Most chipping and peeling comes from a handful of causes. Natural oils on the nail surface stop polish from gripping properly. Thick layers of color stay soft underneath and bend or crack under pressure. Water exposure makes nails expand and contract slightly, which breaks the bond between nail and polish. And everyday rough treatment, such as scraping, pressing, and prying, wears down the edges first.
Once I understood these causes, my approach changed. Instead of blaming the polish brand, I started looking at my process. That shift is what finally helped my nail art last longer than a few days, and it is the foundation of everything below.
Start With Proper Nail Preparation
If I could give only one piece of advice, it would be this: prepare your natural nails before applying polish. I used to skip this step because I was impatient to get to the fun part. That was a mistake.
Now I begin by removing any old polish completely, then gently washing my hands and nails with mild soap. Natural oils and leftover lotion are the enemy of long-lasting nail polish, so I wipe each nail with a lint-free pad to remove any residue. I also push back my cuticles softly and trim away any loose skin, taking care not to cut deeply. Finally, I shape my nails with a fine file, filing in one direction rather than sawing back and forth, which prevents splitting at the tips.
The most overlooked part is making sure nails are completely dry. Damp nails trap moisture under the polish, which leads to bubbling and peeling later. I now wait a few minutes after washing before I start. This small pause is one of the biggest reasons my nail art lasts longer today than it did when I started.
Do not forget to apply the base coat.
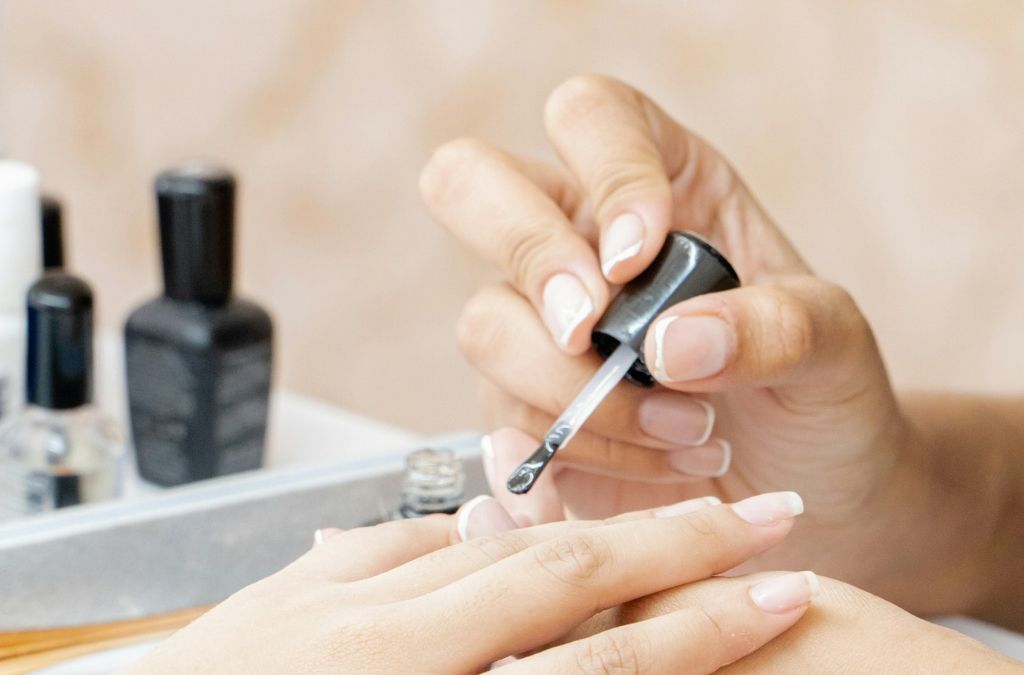
For many years, I believed that base coats are simply extra things that manufacturers say you need to buy. I was mistaken. A thin base coat acts as a primer does for the wall. It allows the color to stick and also protects the nails from staining, especially when using darker colors and strong pigments.
When I began applying one thin layer of base coat to every manicure, the difference was clear. The polish went on smoother, the color looked more even, and the edges stayed intact for noticeably longer. I let the base coat dry fully, usually for about a minute or two, before moving on. Rushing this step causes streaks and weak adhesion, so patience really pays off.
Use Thin Coats Instead of Thick Layers
Another major lesson was learning to apply thin coats of polish. When I was new to nail art, I believed thicker polish meant stronger color. In reality, thick layers dry slowly on the inside, even when the surface feels dry. That soft layer underneath is what causes dents, smudges, and peeling.
Now I apply two thin coats of color and let each one dry for a couple of minutes. The result is smoother, harder, and more durable. If I’m adding nail art details such as dots, lines, or small patterns, I make sure the base color is completely dry first. Painting designs over slightly wet polish can make the whole manicure lift off in one piece later.
Patience at this stage is not wasted time. Those extra few minutes are exactly what help nail art last longer and look polished from day one to day seven.
Be Careful With Nail Art Details
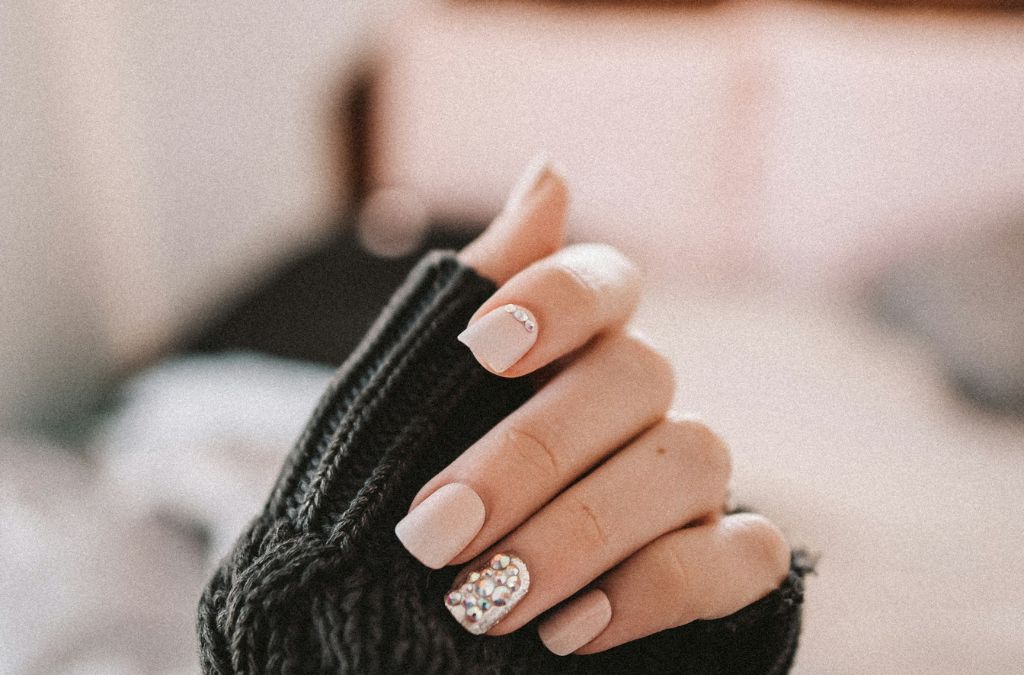
Designs add beauty, but they also add thickness. Layers of glitter, stickers, rhinestones, and hand-painted details create tiny edges where chipping can begin. Here is how I handle them.
I keep designs light and place heavier decorations, like gems, on one or two accent nails instead of all ten. I wait until each design layer is dry before adding the next one. When using stickers or decals, I press them down firmly and smooth the edges so they sit flat. Then I cover every design completely with top coat, making sure the sealer slightly overlaps the edges of each decoration so nothing catches on clothing or hair.
Simple designs are not boring. In my experience, minimal nail art such as small dots, thin lines, or a clean French tip often lasts longer than elaborate designs, simply because there are fewer places for wear to begin.
Seal the Free Edge of Every Nail
One small change made a noticeable difference for me: sealing the free edge of each nail. The free edge is the very tip of your nail, and it takes the most daily impact from typing, tapping, and picking up objects.
After applying color, I stroke the brush over the tip of the nail to make sure the polish wraps the edges. The same goes for the top coat. This makes a small cap around the polish and prevents it from lifting off at the tips. Before I started applying the top coat that way, the chips would usually start at the corners of the nails. After doing it, the chips started occurring much less frequently, and my creations lasted longer performing different day-to-day duties such as cleaning or washing dishes.
Select and Use a Quality Top Coat
The top coat is like a shield for your manicure. Color and design are protected from scratches and kept shiny and intact. I glide a thick but not overwhelming layer over the nail and seal edges as well.
Some of the things I started doing helped me achieve better results. I reapply a thin layer of top coat once in a couple of days. Thus, the nails shine, and another layer of protection appears.And I avoid shaking the bottle, since this introduces air bubbles that can ruin the finish. I roll it gently between my palms instead.
Adding a fresh layer of top coat midweek is one of the easiest ways to make nail art last longer without redoing the entire manicure.
Never Skip the Base Coat
For the longest time, I imagined that a base coat was simply another product that manufacturers wanted to sell me. I learned that I was wrong. This thin layer works like a primer on the wall; it gives something for the color to stick to, and it helps to keep the natural nails from staining, especially with dark colors and strong pigments.
When I began applying one thin layer of base coat to every manicure, the difference was clear. The polish went on smoother, the color looked more even, and the edges stayed intact for noticeably longer. I let the base coat dry fully, usually for about a minute or two, before moving on. Rushing this step causes streaks and weak adhesion, so patience really pays off.
Use Thin Coats Instead of Thick Layers
Another major lesson was learning to apply thin coats of polish. When I was new to nail art, I believed thicker polish meant stronger color. In reality, thick layers dry slowly on the inside, even when the surface feels dry. That soft layer underneath is what causes dents, smudges, and peeling.
Now I apply two thin coats of color and let each one dry for a couple of minutes. The result is smoother, harder, and more durable. If I’m adding nail art details such as dots, lines, or small patterns, I make sure the base color is completely dry first. Painting designs over slightly wet polish can make the whole manicure lift off in one piece later.
Patience at this stage is not wasted time. Those extra few minutes are exactly what help nail art last longer and look polished from day one to day seven.
Be Careful With Nail Art Details
Designs add beauty, but they also add thickness. Layers of glitter, stickers, rhinestones, and hand-painted details create tiny edges where chipping can begin. Here is how I handle them.
I keep designs light and place heavier decorations, like gems, on one or two accent nails instead of all ten. I wait until each design layer is dry before adding the next one. When using stickers or decals, I press them down firmly and smooth the edges so they sit flat. Then I cover every design completely with top coat, making sure the sealer slightly overlaps the edges of each decoration so nothing catches on clothing or hair.
Simple designs are not boring. In my experience, minimal nail art such as small dots, thin lines, or a clean French tip often lasts longer than elaborate designs, simply because there are fewer places for wear to begin.
Seal the Free Edge of Every Nail
One small change made a noticeable difference for me: sealing the free edge of each nail. The free edge is the very tip of your nail, and it takes the most daily impact from typing, tapping, and picking up objects.
When I put on the nail polish, I make sure to brush along the tip of the nail so that the polish goes all around it. I do the same with the top coat as well. It creates a small “cap” that prevents the nail polish from lifting off the corner. Before I started doing that, my chips would appear in the corners, which was very frequent. After I started doing this, chips were very rare, and I had my manicure for longer periods of time even when doing household chores.
choose and Apply a Good Top Coat
A top coat is your manicure’s armor. It protects the color and design from scratches, adds shine, and slows down wear. I apply a generous but not heavy layer, covering the entire nail and sealing the edge once more.
A couple of practices have helped me get better results. I apply a thin coat of top coat every couple of days to renew the shine and to be able to put on another protecting layer. I always ensure that the top coat touches the skin line lightly and does not go over the cuticle; too much paint can cause lifting. Another thing I do is to avoid shaking the bottle, as shaking can create air bubbles that ruin the finish. Instead of shaking, I simply roll it between my palms.
Adding a fresh layer of top coat midweek is one of the easiest ways to make nail art last longer without redoing the entire manicure.
Allow Enough Drying Time
Drying time is one of the most underrated parts of a lasting manicure. A nail can feel dry to the touch while the polish underneath is still soft. If you go back to your normal routine too quickly, pressure from everyday objects can leave dents or smudges that eventually lead to peeling.
After finishing my manicure, I give my nails at least 30 to 45 minutes to harden before doing anything demanding. I avoid reaching into bags, fiddling with my phone, or touching my hair during this time. If I’m in a hurry, I use a quick-dry drop or a short blast of cool air, never hot air, which can cause bubbles. Giving polish the time it needs may feel slow, but it protects the work you just did.
Daily Habits That Protect Your Manicure
Taking care of nails does not stop after applying the last layer of polish. From what I have seen, caring for your nails is as vital as applying the polish. Here are some habits that I suggest adopting:
Ensure you wear gloves when scrubbing dishes and when using any household cleaners.
Make use of your fingertips instead of your nails to open medicine packages, cans, or stickers.
- Apply cuticle oil daily to keep skin and nails flexible
- Moisturize your hands regularly, avoiding heavy lotion directly on the nail surface right after painting
- Limit long soaks in hot water such as baths, pools, and hot tubs
- Keep your nails short to medium length, since longer nails break and chip more easily
Wearing gloves was the hardest habit to build, but it may be the most powerful. Water and cleaning chemicals soften polish quickly, and gloves stop that damage before it starts. Once it became routine, I noticed my nail art lasted longer every single week.
The Role of Cuticle Oil andHydration
Many people think only about the polish, but the health of the nail itself matters just as much. Dry, brittle nails tend to split and flake, and polish simply follows what the nail does underneath. If the nail peels, the polish peels with it.
I now apply cuticle oil once a day, usually before bed, massaging it gently into the skin around each nail. The oil keeps the nail plate flexible and the cuticles soft, which reduces hangnails and cracking. I also drink more water and take care not to over-file or over-buff my natural nails, which can thin them and make polish harder to hold onto. Healthy nails give any manicure a stronger foundation.
Common Mistakes That Shorten the Life of Nail Art
The first is applying polish to nails that are still oily or damp. The second is using thick coats to save time. The third is skipping the base coat or top coat because the manicure looks fine without them. The fourth is using nails as tools, which is a fast track to chips and breakage. The fifth is picking at small chips, which only pulls off more polish and damages the nail surface. And the last is ignoring aftercare, as if the manicure will protect itself.
Fixing even two or three of these will help your nail art last longer, and fixing all of them can double the lifespan of a home manicure.
What to Do When a Small Chip Appears
Even with perfect care, a chip may appear eventually. Instead of removing everything, I try a quick repair. I gently smooth the chipped edge with a soft file, apply a tiny bit of matching polish to the damaged spot, let it dry, and then cover the entire nail with fresh top coat. This blends the repair into the design and gives the manicure several more days of life.
If the damage is more severe, such as lifting from the cuticle area or a large peeling section, it is better to remove the polish and start fresh. Trying to stretch a failing manicure often leads to uneven edges and further damage to the natural nail.
Give Your Nails Breaks Between Manicures
Constant polish and removal can weaken nails over time. I try to give my nails a short rest between manicures, even just a day or two, using only cuticle oil and a strengthening treatment. When removing polish, I always use a gentle remover and avoid scraping or peeling, which pulls off layers of the nail with it. Strong, healthy nails are the best canvas for any design, and they hold polish much better than damaged ones.
My Biggest Takeaway
After years of trial and error, my biggest takeaway is that long-lasting nail art depends on consistency, not perfection. You don’t need professional tools, expensive brands, or a salon appointment. You need clean, dry nails, thin coats, a proper base and top coat, sealed edges, and simple daily habits that protect your hard work.
A few extra minutes of preparation and aftercare make a real difference. These habits helped my designs stay fresh and attractive for longer, without constantly fixing chipped polish. If you try even a few of the steps in this guide, I believe you will see the same improvement I did.
FAQ
How to Make Nail Art Last Longer at Home?
When I started doing nail art at home, I noticed that my designs often chipped because I rushed the preparation process. One simple change that helped was cleaning my nails thoroughly before applying polish. I also started using a quality base coat, applying thin layers of color, and sealing the nail tips with a top coat. Another useful habit was avoiding hot water and household cleaning products immediately after finishing my manicure. From my experience, small improvements in preparation and daily care can make homemade nail art look beautiful for much longer.
How to Make Nail Polish Last Longer Without Coat(top)?
I used to think a top coat was absolutely necessary for every manicure, but I learned that proper application can still improve polish durability without one. Whenever I skipped the top coat, I focused on removing excess oil from my nails, applying a thin base coat, and using two thin layers of nail polish. I also made sure each layer had enough time to dry. Although my manicures generally lasted better with a top coat, careful preparation helped reduce early chipping even without one.
How to Make Nail Polish Last Longer in the Bottle?
One mistake I made when storing nail polish was leaving bottles near sunlight and warm areas. Over time, some polishes became thicker and harder to apply smoothly. I learned to store my nail polish bottles upright in a cool, dry place away from direct sunlight. I also started cleaning dried polish from the bottle neck before closing the cap tightly. When polish became slightly thick, I used a few drops of nail polish thinner rather than acetone. These habits helped maintain a smoother consistency and made my favorite shades easier to use.
How to Make Nail Polish Last Longer on Toes?
From my experience, toenail polish can stay attractive longer than fingernail polish, but wearing tight shoes and skipping proper nail preparation can still cause damage. Before painting my toenails, I make sure they are clean and completely dry. I apply a thin base coat, followed by two light coats of polish and a protective top coat. I also avoid putting on tight socks or closed-toe shoes until the polish has dried thoroughly. One helpful lesson I learned is that giving a pedicure enough drying time can prevent unnecessary smudging and peeling.
Final Thoughts
Making nail art last longer is a skill anyone can learn. Start with preparation, apply thin and patient layers, seal the edges, protect your manicure with daily care, and refresh the top coat when needed. Small changes add up quickly, and before long, your nail designs will stay beautiful from the first day to the last.

Modern Lifestyle Center is a fashion and beauty publication sharing the latest trends, beauty tips, nail art inspiration, personal styling, and lifestyle ideas. Our mission is to provide helpful, trustworthy, and inspiring content that enhances everyday beauty and personal style.