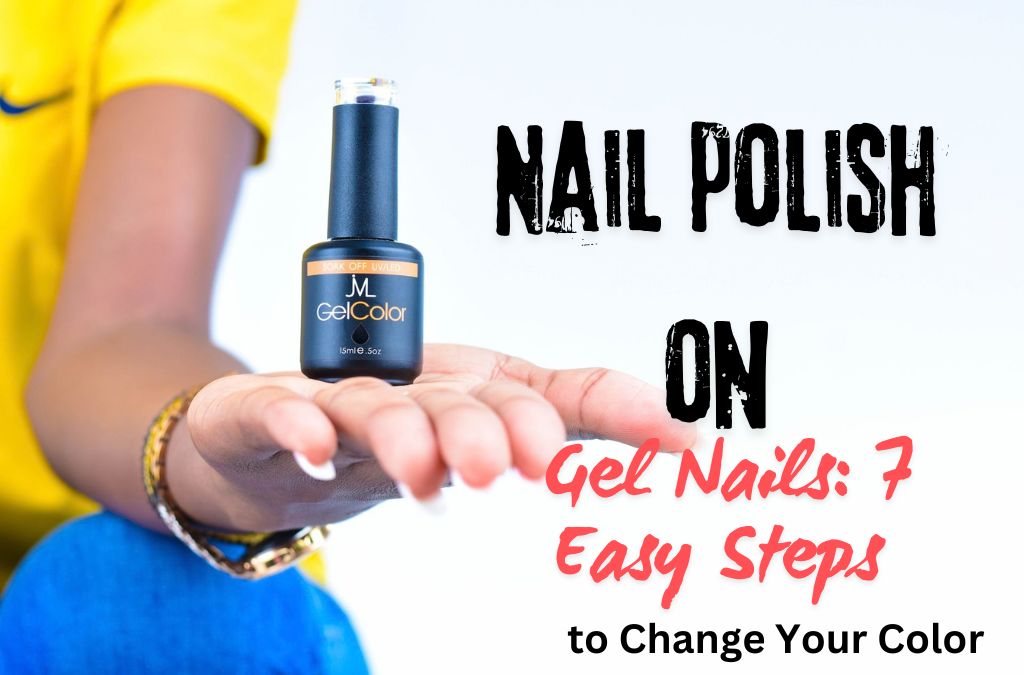
Nail polish on gel nails is one of the easiest ways to change your manicure color without going through a full gel removal. I love gel nails for their smooth, glossy finish and long-lasting wear. But after a week or two, I often want a fresh color, and I don’t always want to soak off my manicure just to switch things up.
This was the time I became interested in the process of applying regular nail polish over the gel. I had two questions: would it affect the gel, and would it take away the shine? After researching and trying it myself, I learned that it’s easy if you follow some rules. In this article, I will share my experience concerning the preparatory actions, mistakes to avoid, and how to remove the polish correctly.
Can You Put Regular Nail Polish on Gel Nails?
Yes, you can. Regular nail polish can go over a fully cured gel manicure, provided two conditions are met:
- The gel is completely cured and in good condition. There should be no deep chips, lifting edges, or peeling.
- The nail surface is clean and free of oils or lotion.
Regular polish dries naturally, whereas gel polish dries using an LED or UV lamp. The two types of products dry differently, meaning that regular polish simply sits atop the gel polish as a temporary color layer. Regular polish makes it very easy for anyone to change their nail color without visiting a salon.

What You Need Before You Start
Gather everything first so you aren’t hunting for supplies mid-manicure:
- Standard nail polish in your favorite color
- A standard fast-drying topcoat (not a gel top coat)
- Non-acetone nail polish remover
- Lintless wipes or cotton balls
- Isopropyl alcohol (optional, for more cleaning)
- Fine-five nail buffer to smooth any glossy surfaces
- Cuticle oil for aftercare
7 Easy Steps to Apply Nail Polish on Gel Nails
Step 1: Evaluate the State of Your Gel Manicure
Prior to the addition of any shade of color to your nails, take a thorough look at their condition. If the gel appears cracked, detached from the cuticle, or chipped, regular nail polish won’t salvage the situation. When moisture gets trapped under the lifting gel, it just makes the issue worse. You will achieve perfect results when the gel is smooth and securely adhered.
Step 2: Clean Your Nails Properly
This point significantly improved my situation. Gel nails are super shiny, and if there is any sign of hand creams, oils, or skin oils, the ordinary polish will not stick. I use cotton pads soaked with nail polish remover or isopropyl alcohol to wipe the nails and then let them dry completely before working with them.
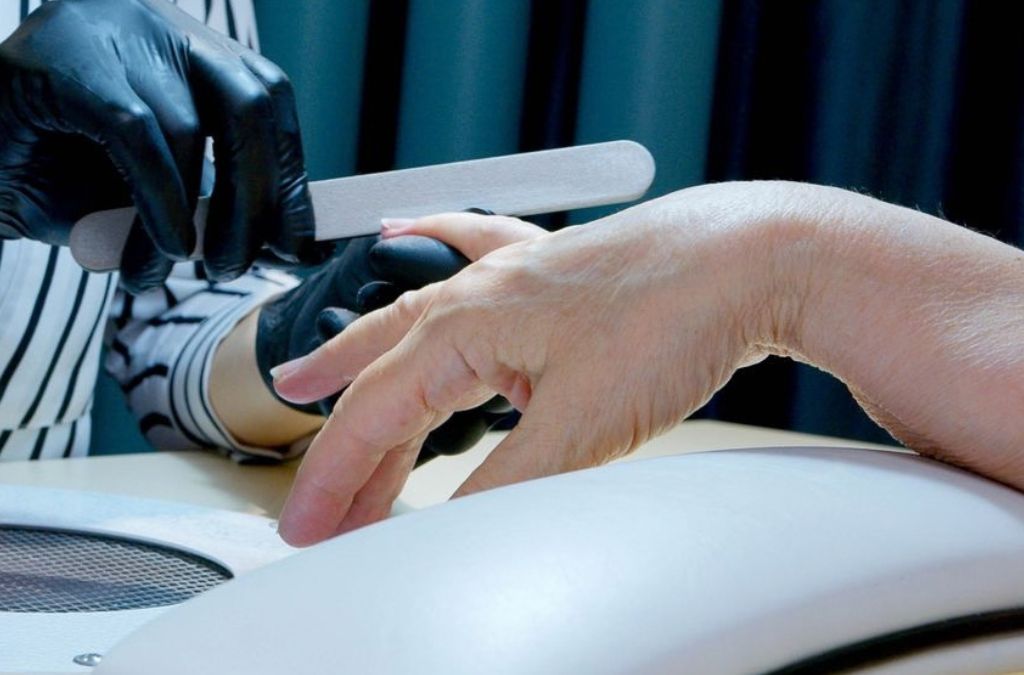
Step 3: If Necessary, Buff the Surface Gently.
Some gel finishes are so glossy that ordinary polish cannot stick to them properly. If you find that to be true, use a fine-grit polisher to take the gloss away without removing too much gel. Be careful, though, because too much buffing will weaken the gel.
Step 4: Apply the First Thin Coat of Polish.
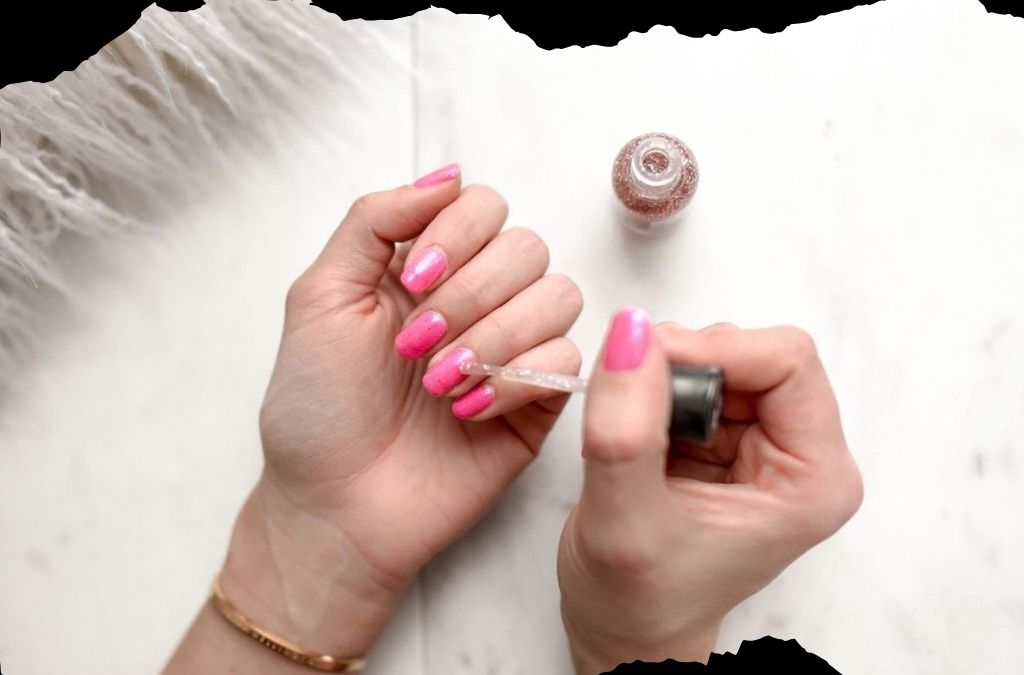
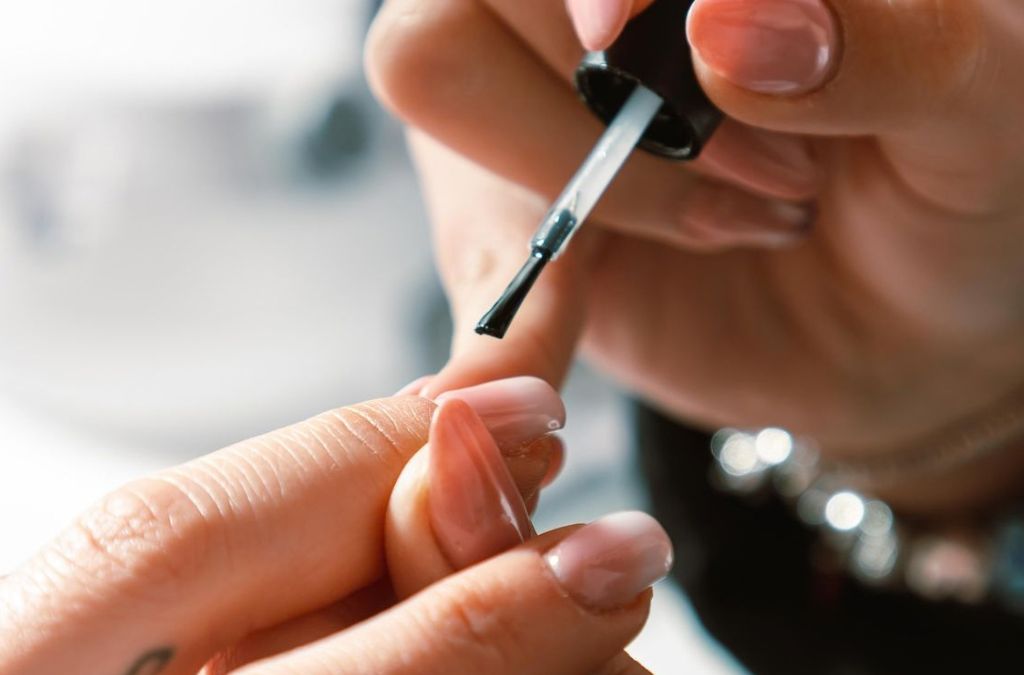
After you have taken some of the polish on the brush, paint the first coat on the nails starting from the centre and then heading outwards towards the sides of the nail. Stroke the brush along the free edge of the nail so that its tip is covered, thus sealing it and preventing early chipping.
This is how I learned my main lesson: the thinner the coat, the better. A thick coat dries unevenly and is soft under the surface; therefore, it is more prone to smudges and peels.
Step 5: Allow to Dry Completely.
Here you have to be patient. Allow the first coat to dry completely before applying the next one. If you hurry, you may cause smudges, fingerprints, and bubbles.
Step 6: Apply a Second Thin Coat if Necessary
If your first coat appears to be uneven in color, add a second thin layer. The majority of colors look good when finished in two thin layers. Sheer colors may require three coats.
Step 7: Seal With a Top Coat
Finish with a thin layer of regular top coat. It adds shine, protects the color, and helps the polish last longer. Keep it thin and let it dry completely before doing dishes, typing heavily, or reaching into your bag.
Common Mistakes to Avoid
Here are the problems I’ve seen (and made) when putting regular polish over gel:
- Skipping the cleanup. Oils and lotion are the number one reason polish won’t stick.
- Applying thick coats. Thick layers cause uneven drying, smudging, and peeling.
- Not waiting between coats. Wet layers drag and create streaks.
- Painting over damaged gel. Lifting or cracked gel will only look worse with polish over it.
- Using harsh removers too often. Repeated exposure can dull the gel’s finish.
- Forgetting the nail tips. Unsealed edges tend to chip first.
How to Remove Regular Polish From Gel Nails Safely
Nail polish removal leads people to make mistakes in their manicures. Here are my recommendations for success.
Use a non-acetone remover rather than acetone. Because of its considerable strength, acetone often diminishes the appearance of the gel polish over time. Non-acetone removers are usually milder when it comes to gel polish application. However, I favor not changing colors too frequently, as it can still change the aspect slightly.
Remove it gently:
- Dampen a cotton pad with non-acetone remover.
- Keep the nail polish remover on for a few seconds so the polish may be loosened.
- The nail polish remover should be wiped from cuticle to tip without swiping several times.
- Avoid picking at the nail polish with tools or your fingers.
- Once finished, wash your hands and apply cuticle oil.
If the polish is stubborn, repeat the process instead of pressing harder. Aggressive scrubbing can scratch the gel surface.
Pros and Cons of Using Regular Polish on Gel Nails
Pros
- Change your color quickly without a full gel removal
- Great for trying a trend or matching an outfit
- Affordable and easy to do at home
- Fresh color between salon visits
Cons
- Doesn’t last as long as gel polish
- Repeated removal may dull the gel’s shine
- Needs careful preparation for good results
- Not suitable over damaged or lifting gel
When You Should Remove the Gel Instead
Regular polish over gel is a convenient shortcut, but it isn’t right for every situation. Remove the gel properly if:
- The gel is lifting, peeling, or has deep chips
- Your nails feel sore, look discolored, or seem unhealthy
- The manicure is several weeks old and your natural nails have grown out significantly
- You want a finish that will hold for weeks
If you have any concern about your nail health, check with a nail professional or doctor rather than layering more product on top.
Aftercare Tips for Healthy-Looking Nails
- Apply cuticle oil daily, but clean your nails before polishing.
- Wear gloves when washing dishes or using cleaning products.
- Avoid using your nails as tools to open cans or scrape surfaces.
- Give your nails a break from product build-up now and then.
- Moisturize your hands, avoiding the nail surface right before polishing.
Frequently Asked Questions
Is there a risk of ruining gel nails with the use of regular polish?
The answer is generally no, as long as the gel is properly cured and healthy. The main concern comes from the technique used for removal, so opting for a non-acetone remover and being gentle could keep damage to a minimum.
How long does regular nail polish stay on gel nails?
It really depends on preparation as well as quality of nail polish. Usually, it can stay on for a period of 3-7 days, which is shorter than that of gel polish.
Should a base coat be used?
It is not mandatory, as gel polish could serve that function. The best option is to clean the nails thoroughly before applying the regular nail polish.
Is regular top coat suitable for gel nails?
Yes, it provides shine and protects the color. The normal top coat is used in thin layers and is not dried off.
Is non-acetone remover better?
It is known to be more protective than acetone-based removers used for gel. However, excessive use of non-acetone remover can harm the coating.
Can I cure normal nail polish with a UV lamp?
No. Regular nail polish dries in air and is not meant for curing under lamp.
My Biggest Takeaway
From the experience, the most important thing I learned was that preparation is the key to success—clean, dry nails that are free of grease; thin layers of polish; complete drying time; and careful peeling can turn an unsuccessful nail job into a professional-looking manicure.
Using regular nail polish on gel nails is a great solution if you want to change the color of your nails without removing the entire gel nail coat. It provides you with an opportunity to have a new shading anytime you want without having to deal with the process of full gel removing.
If you are in doubt about whether to change colors between gel applications, you can start with one nail or one hand if you are afraid of doing it.
What color will you try first? Share your experience in the comments below!

Modern Lifestyle Center is a fashion and beauty publication sharing the latest trends, beauty tips, nail art inspiration, personal styling, and lifestyle ideas. Our mission is to provide helpful, trustworthy, and inspiring content that enhances everyday beauty and personal style.