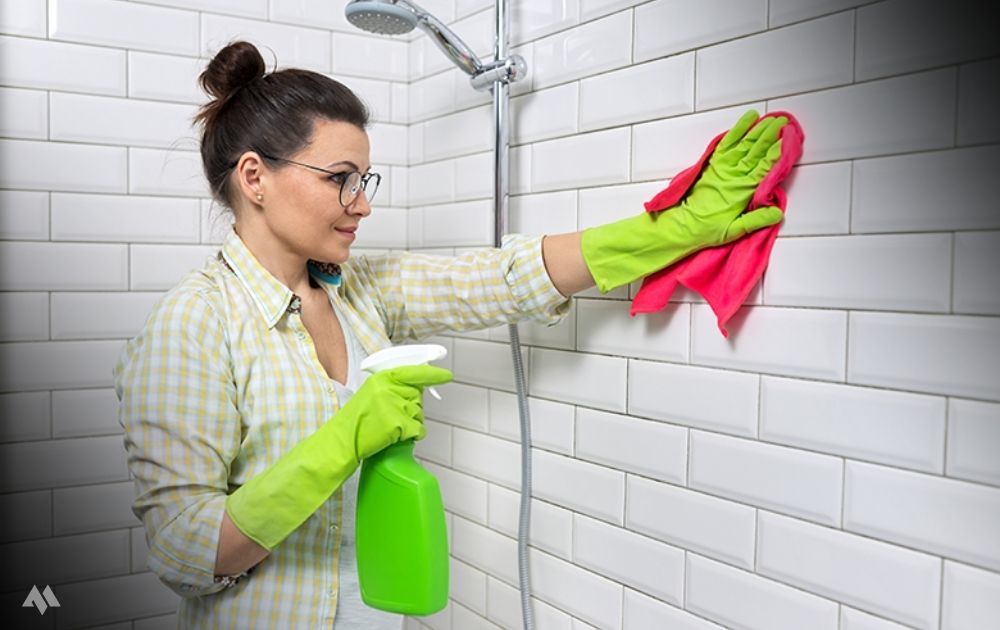
I still remember the exact moment I gave up on my bathroom tiles — for the first time, at least. It was a lazy Sunday morning, coffee in hand, when I walked in to brush my teeth and noticed something horrifying under the bathroom light: the once-white grout lines between my tiles had turned a dull, blotchy gray. Soap scum clung to the lower corners like a bad habit that refused to leave. I remember thinking, “How did I let this happen?”
Table of Contents
If you’re reading this article, chances are you’ve had a similar moment. Maybe it was a guest walking in right after you, or maybe it was just you, alone, staring at the shower wall wondering where it all went wrong. Either way, welcome — you’re in good company, and more importantly, you’re about to fix it.
Over the next few months, I became a little obsessed with figuring out how to clean bathroom tiles properly — not just wipe them down, but actually restore them to that satisfying, showroom-fresh shine. I tried the vinegar hacks, the baking soda pastes, the fancy sprays from the supermarket, and even a steam cleaner I probably didn’t need to buy. Some worked brilliantly. Some were a complete waste of a Saturday afternoon.
This article is everything I wish someone had told me before I started scrubbing blindly. It’s a complete, friendly, no-nonsense guide — the kind you’d get from a friend who’s already made all the mistakes for you.
Why Bathroom Tiles Get Dirty Faster Than You Think
Before we jump into the cleaning steps, it helps to understand why bathroom tiles get grimy so quickly compared to other surfaces in your home.
Bathrooms are humid, warm, and constantly exposed to water, soap, shampoo residue, and body oils. This combination creates the perfect environment for:
- Soap scum — a filmy residue formed when soap reacts with hard water minerals
- Mold and mildew — which thrive in damp, poorly ventilated corners
- Grout discoloration — porous grout absorbs dirt, moisture, and grime like a sponge
- Hard water stains — mineral deposits that leave a cloudy, chalky film on tiles
Understanding this is important because it tells you that a bathroom tile cleaner needs to do more than just look clean on the surface — it needs to cut through grease, kill mildew spores, and dissolve mineral buildup. That’s why a single quick wipe with a wet cloth almost never works.
What You’ll Need Before You Start
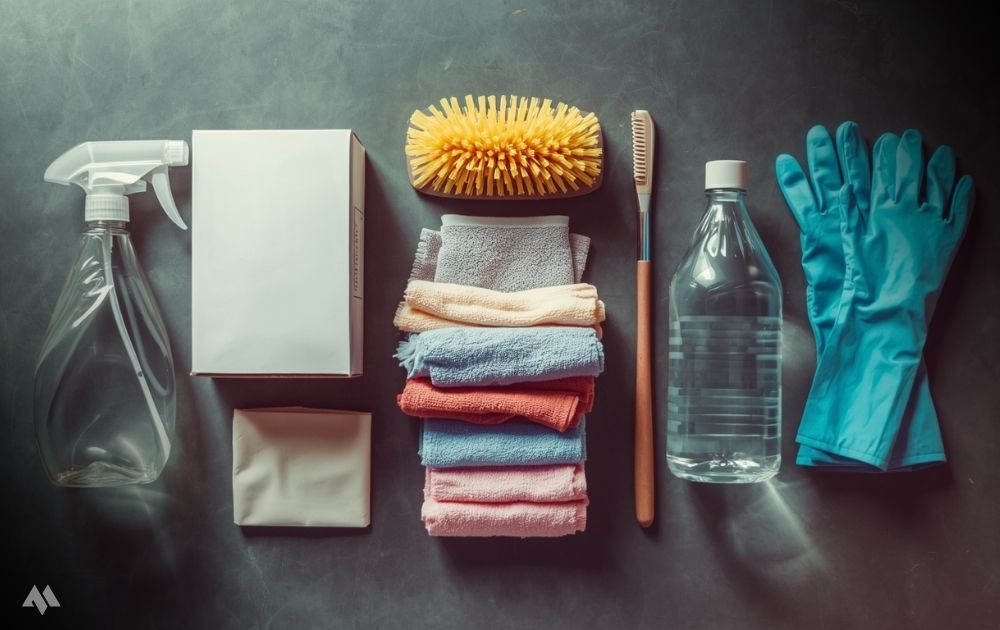
Here’s the toolkit I now keep under my sink permanently. You probably already have most of these items at home.
Basic supplies:
- A soft-bristle scrub brush or an old toothbrush (great for grout lines)
- Microfiber cloths (at least 2–3)
- A spray bottle
- Rubber gloves
- A bucket of warm water
Cleaning agents (pick based on your tile type):
- White vinegar
- Baking soda
- Dish soap
- Hydrogen peroxide (for stubborn grout stains)
- A commercial bathroom tile cleaner, if you prefer a store-bought option
Optional but helpful:
- An old credit card or plastic scraper (for scraping off dried gunk without scratching)
- A handheld steam cleaner
Step-by-Step: How to Clean Bathroom Tiles Like a Professional
Step 1: Clear the Area
Remove bath mats, shampoo bottles, and any loose items from the floor or shower ledge. You want a completely open surface to work with — trust me, cleaning around obstacles is half the reason people give up halfway through.
Step 2: Do a Dry Sweep First
Before any water touches the tiles, sweep or vacuum the floor. This removes loose hair, dust, and grit that would otherwise turn into muddy streaks the moment you add water.
Step 3: Pre-Treat with a Natural Bathroom Cleaning Tip
Here’s one of my favorite natural bathroom cleaning tips: mix equal parts white vinegar and warm water in a spray bottle. Spray it generously over the tiles and grout lines, then let it sit for 10–15 minutes. The mild acidity in vinegar breaks down soap scum and mineral deposits without damaging most tile finishes.
Note: avoid vinegar on natural stone tiles like marble or travertine, as the acid can etch the surface. For those, stick to a pH-neutral cleaner.
Step 4: Scrub the Tile Surface
Using your scrub brush or a microfiber cloth, work in small circular motions across the tile surface. Focus on corners and lower sections first, since these usually collect the most grime.
Step 5: Tackle the Grout Separately
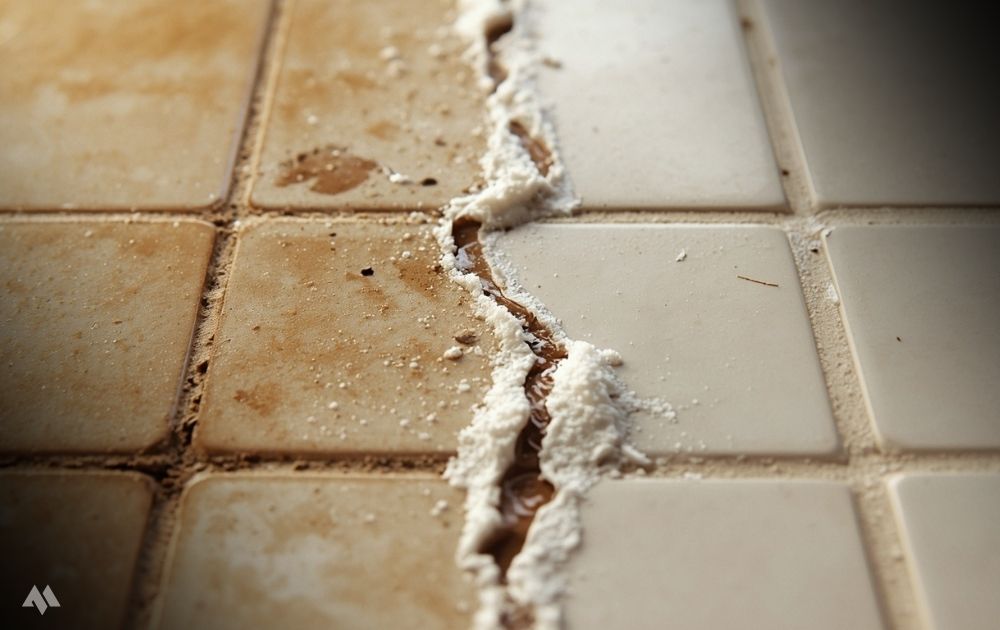
This is where most people get frustrated — and honestly, it’s the part I used to dread the most. For how to remove grout stains, make a thick paste using baking soda and a small amount of water. Apply it directly onto the grout lines using an old toothbrush, and scrub in a back-and-forth motion (not circular — this actually gets deeper into the grout channel).
For particularly stubborn or blackened grout, apply a small amount of hydrogen peroxide directly on top of the baking soda paste. You’ll notice it fizzing slightly — that’s a good sign, it means it’s breaking down the buildup.
Step 6: Let It Sit
Give the paste 10 minutes to work its magic. This is a great time to take a break, refill your coffee, or, like me, stand back and admire how much brighter things already look.
Step 7: Rinse Thoroughly
Using warm water, rinse the tiles and grout completely. Any leftover residue from cleaning agents can attract dirt faster than before, so don’t rush this step.
Step 8: Dry and Buff
Use a clean microfiber cloth to dry the tiles. This step matters more than people realize — drying prevents new water spots and gives the tiles a polished, streak-free shine.
Step 9: Treat Mold-Prone Areas
If you notice mold or mildew near the shower base or corners, a light spray of diluted hydrogen peroxide (not vinegar, since mixing cleaning agents can be harmful) followed by a gentle scrub will help eliminate it.
Step 10: Maintain with a Quick Weekly Wipe-Down
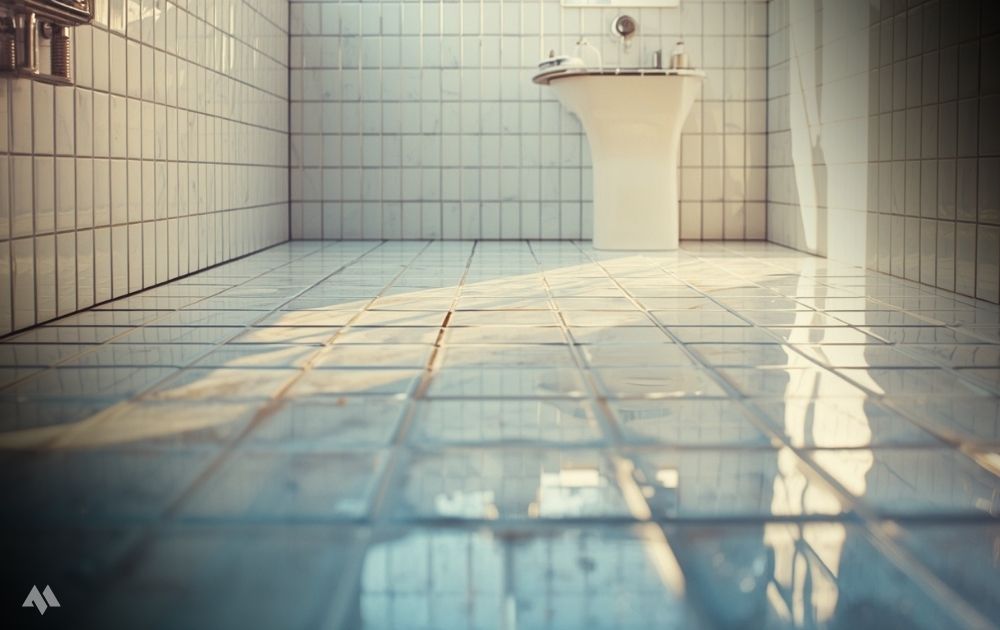
The real secret to tiles that always look freshly cleaned isn’t a deep clean every week — it’s a 5-minute wipe-down after showers. Squeegee the walls, wipe visible water spots, and you’ll rarely need a full scrub-down again.
Choosing the Best Products for Tile Cleaning
While natural methods work wonders, sometimes you want the convenience of a store-bought solution. When looking for the best products for tile cleaning, keep these factors in mind:
- Check the tile type first — ceramic, porcelain, and natural stone all require different formulas.
- Avoid bleach on colored grout — it can cause fading over time.
- Look for enzyme-based cleaners for bathrooms with frequent mold issues — they break down organic buildup more effectively than surface cleaners.
- Pick a pH-neutral formula if you have stone tiles, since acidic or alkaline products can dull the finish.
- Read the label for “grout-safe” wording, especially for cleaners with strong chemical bases.
A lot of the cleaners lining supermarket shelves work well enough, but honestly, once I started using the vinegar-and-baking-soda combo consistently, I found myself reaching for store-bought sprays far less often. It became less about finding the “perfect” product and more about being consistent with a simple routine.
Common Mistakes People Make When Cleaning Bathroom Tiles
Since we’re being honest here, let me share a few things I did wrong before I figured this all out:
- Using too much water pressure with a power washer, which pushed grime deeper into the grout instead of out.
- Skipping the “let it sit” step, thinking scrubbing harder would make up for it. It doesn’t.
- Mixing cleaning chemicals (like bleach and vinegar), which can create harmful fumes. Always use one cleaning agent at a time.
- Ignoring ventilation — cleaning with the exhaust fan off just traps moisture back into the tiles, undoing your work.
- Ignoring the ceiling and upper wall tiles, where mold spores often start before spreading down.
How Often Should You Deep Clean Your Bathroom Tiles?
For most households, a deep clean once every 2 weeks is enough, paired with a quick daily or post-shower wipe-down. If you live in a humid climate or have a larger household, a weekly deep clean might work better to prevent mold from settling in.
A Quick Personal Story: The Time I Almost Ruined My Marble Tiles
I have to admit one embarrassing mistake, because I think it might save you some heartache. When I first started this cleaning journey, I assumed vinegar was a universal solution — after all, it worked so well on my ceramic tiles. So naturally, I sprayed it generously across my bathroom’s small marble accent strip.
Big mistake.
Within a day, I noticed a faint, dull patch where the vinegar had etched into the stone. Marble, like most natural stones, is sensitive to acidic cleaners. Lesson learned: always check your tile material before applying any cleaning solution, especially natural stone. Since then, I’ve used a simple pH-neutral stone cleaner for that section, and it’s looked perfect ever since.
Frequently Asked Questions
Can I use dish soap to clean bathroom tiles? Yes, dish soap is gentle and effective for everyday cleaning, especially for cutting through oil-based grime.
Is steam cleaning good for bathroom tiles? Steam cleaning works well for both tiles and grout since it uses heat and pressure to lift dirt without harsh chemicals, though it may not be ideal for certain natural stones.
How do I keep grout white for longer? Sealing your grout once it’s clean can prevent future staining and make regular cleaning much easier.
What’s the fastest way to clean bathroom tiles before guests arrive? A quick vinegar spray, five-minute wait, wipe-down, and dry with a microfiber cloth will have your bathroom looking great in under 15 minutes.
Final Thoughts
Cleaning bathroom tiles isn’t glamorous, but there’s something deeply satisfying about watching dull, grimy tiles turn bright and glossy again. What started as a frustrating Sunday morning discovery turned into a simple weekly habit that now takes me less than ten minutes to maintain.
The truth is, you don’t need to buy every cleaning gadget on the market or spend your whole weekend scrubbing on your knees. With the right approach — a little vinegar, some baking soda, consistent maintenance, and knowing your tile type — your bathroom can stay looking freshly renovated all year round.
So next time you walk into your bathroom and notice those grout lines creeping toward gray, don’t panic. You’ve got this.

Lahiru N Gamage is the founder and editor of Modern Lifestyle Center, a lifestyle publication focused on home decor, interior design, beauty, fashion, garden inspiration, and modern living ideas. Through carefully researched articles and practical guides, he helps readers discover creative ways to improve their homes and everyday lifestyles.
Modern Lifestyle Center is committed to providing informative, trustworthy, and inspiring content designed to help readers create beautiful, comfortable, and functional living spaces.