earning how to do nail art used to feel like something only trained nail technicians could manage. I spent a long time scrolling through creative manicure photos online, convinced that every design needed expensive brushes, gel lamps, and a professional kit. It turns out that was wrong. You can create lovely nail art at home with items you probably already own, and this article shares what I learned through trial, error, and a lot of smudged polish.
Why You Don’t Need Expensive Products
When I first started being interested in home nail art, I believed that the equipment was the key factor behind the appearance of salon creations. I believed that without that equipment my projects wouldn’t be appealing. But after some time, I realized that what is really crucial for success is defining the degree of patience and sticking to the routine.
My initial attempts at home nail design were far from satisfactory. I wasn’t satisfied with the nail polish, which turned out streaky; dots appeared in various shapes and sizes, and several times I ruined my designs by touching them before they dried completely. To succeed in creating nail art, I started with the easiest designs.
If you are just beginning, remember that nobody’s first attempt looks flawless. Think of this as a skill that grows with practice, not a test you must pass on the first try.
Discovering DIY Nail Art Tools in Your Home
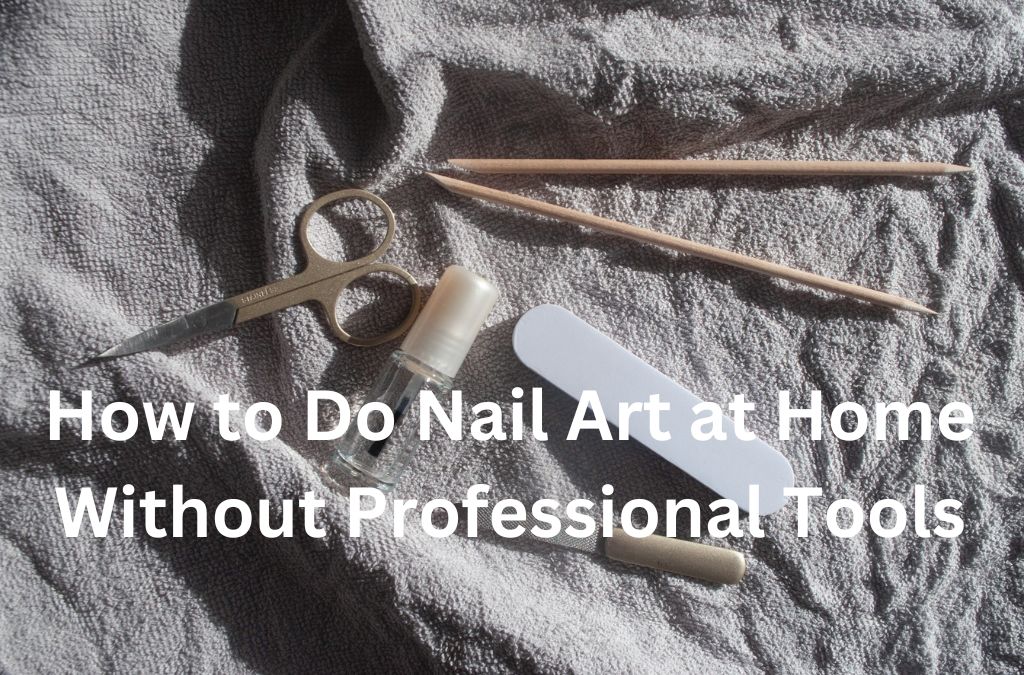
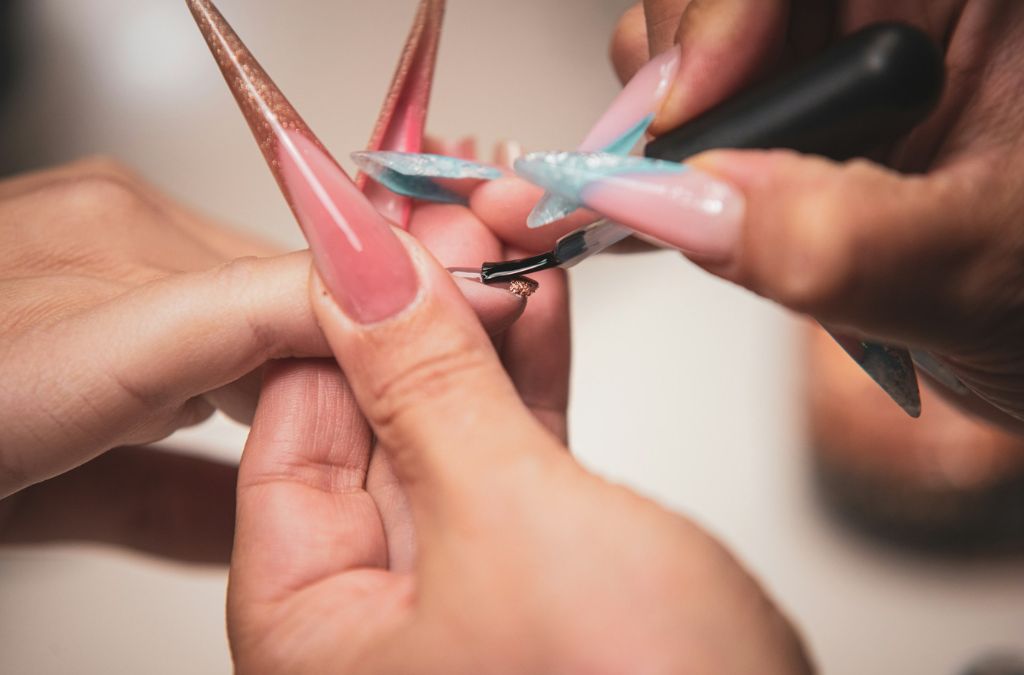
The biggest surprise was how many useful DIY nail art tools were already sitting in my drawers. I started experimenting with toothpicks, bobby pins, cotton swabs, and small strips of tape. Each one turned out to have its own purpose.
The rounded end of a bobby pin became my favorite dotting tool. After dipping it into a drop of polish, I could press it gently onto the nail and get a neat, round dot. By repeating this, I could build tiny flowers or scatter little polka dots across the nail. A toothpick worked better for fine details. I used it to draw thin lines, small hearts, and little curves that a regular polish brush would have blurred.
Cotton swabs had a different job. I dipped one in nail polish remover and used it to clean up mistakes around the cuticle, which made the whole manicure look sharper. Small pieces of tape helped me make straight lines and geometric shapes. One thing I learned quickly was that the base color must be completely dry before applying tape, or it will pull the polish right off.
None of these items cost anything extra, yet together they covered most of what I needed for easy nail art designs.
Prepare Your Nails Before You Start
Preparation was something I ignored at the beginning, and I paid for it. If I painted over leftover polish or oily skin, the new color looked uneven and peeled sooner. Once I began cleaning my nails properly, the difference was obvious.
I now remove any old polish first. I wash my hands and wipe each nail with the remover to rid the nails of surface oil. Shaping the nails and pushing back the cuticles gives the polish something smooth to stick on. This only takes a few minutes more, but it helps to make every nail look better.I now also set up a small workstation. I keep my polish, paper towel, small container of polish, and tools within easy reach of me. I stop myself from rushing, which is why I have fewer smudges now.
Easy Nail Art Designs I Recommend for Beginners
If you want to learn how to do nail art without getting overwhelmed, I suggest starting with three basic techniques: dotting, simple lines, and tape patterns. These cover a surprising range of looks.
The simple flower design. This was one of my first successes, and it is still a favorite. I painted my nails with a light pink base and waited until they were fully dry. Then I dipped the bobby pin into white polish and made five small dots in a circle to form petals. A tiny yellow dot in the center finished the flower. It looked far more polished than I expected, and it only took a few minutes.
Diagonal and straight lines. Using a toothpick dipped in a contrasting color, I drew thin diagonal lines across one or two nails. These are forgiving because small wobbles look like part of the style. Lines work especially well on a neutral background such as beige, white, or soft grey.
Tape geometric patterns. After the base coat dried completely, I placed small pieces of tape across the nail to create triangles, stripes, or half-moon shapes. I then painted over the open area, removed the tape carefully, and sealed everything with a top coat. Geometric nail art for beginners looks impressive, but it mostly depends on patience and drying time.
The accent nail. Instead of decorating all ten nails, I began with just one. Painting a design on the ring finger while keeping the others in a solid shade looked stylish and saved me a lot of frustration. It also let me test new color combinations without committing to a full set.
Mistakes That Helped Me Improve
Looking back, I have learned much more from my mistakes than from any instructional videos. The biggest mistake was to apply too thick a layer of polish at once. I thought that making the coat thick would produce a bigger color saturation. However, polish takes too long to dry, and it smudges and bubbles easily.
The other lesson learned from doing my nails with my weak hand is that although it is difficult, working with it is not that hard. Small dots and diagonal stripes are quite easy to draw, and only when I became more confident did I try to paint other more complex designs.
Lastly, I realized that it is important to wait between the application of the layers and never hurry. Every coat, starting with the base coat to the decoration, needs time to dry. Otherwise, touching the nail too early can ruin all the effort. Now, I learn to relax and enjoy doing my nails rather than worrying about the timing.
Practical Nail Art for Beginners Tips
Based on my experience, here are the habits that made the biggest difference when I was learning nail art at home.Start with fewer colors. Using two or three shades keeps a design clean and helps you avoid a messy look. Light colors with one bold accent are a safe combination.
Keep the amount of polish on your tool small. A tiny drop is enough for a dot or a line, and too much liquid causes blobs. If a dot looks too large, wipe the tool and try again on a spare surface.Practice on paper or a plastic lid before touching your nails. Drawing a few dots and lines first helps you judge how much polish you need and how steady your hand feels.Work in good light. Sitting near a window or under a bright lamp makes it much easier to see small details and spot mistakes before they dry.
Finally, be kind to yourself. If a design goes wrong, remove it with a cotton swab and remover, then try again. Nail polish is forgiving, and a fresh start only takes a minute.
Making Your Nail Art Last Longer
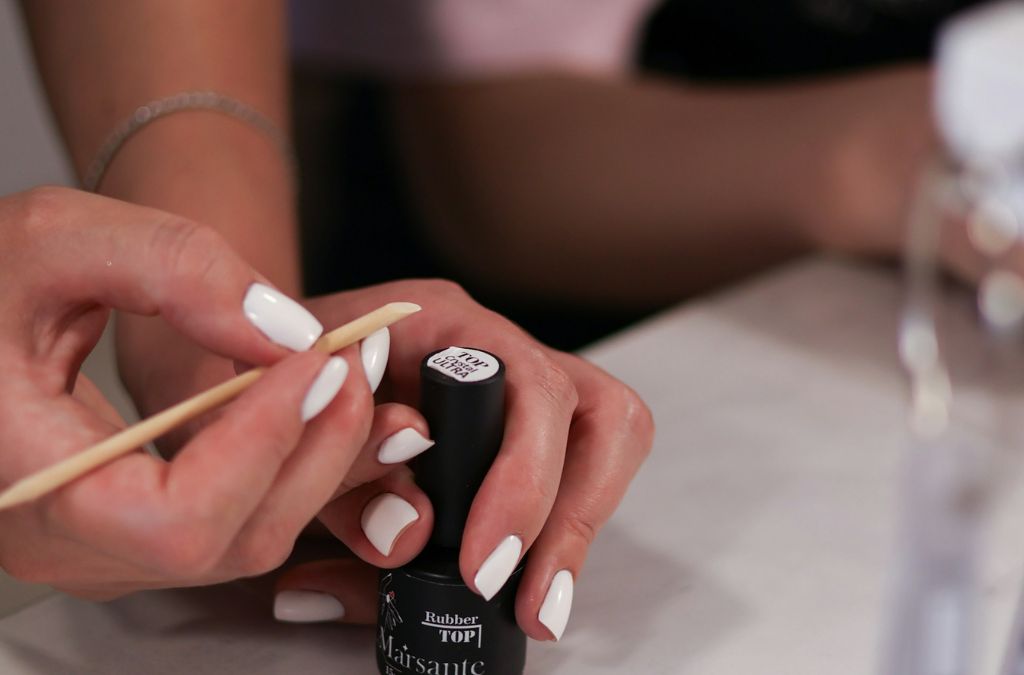
After finishing a design, protection is necessary. Applying a top coat protects the design from chipping within days. I apply the top coat with precision, ensuring that the free edge of the nail is covered since polish tends to wear on this spot first.
I avoid dealing with water immediately after polishing my nails. Even such simple activities as dishwashing can damage the polish. Doing the chores in gloves can be very effective too. If any damage occurs on the polish, I simply fix it with a touch of color and top coat.
Caring for cuticles and applying some moisturizer before polishing also helps to keep nails good looking. Healthy and moist nails are always the most attractive.
My Advice for Anyone Starting Out
If I were beginning again, I would not buy a large kit. I would gather a toothpick, a bobby pin, a few cotton swabs, some tape, two or three polish shades, and a clear top coat. Then I would choose one easy design, practice it on a single nail, and build from there.
The most valuable thing I learned is that beautiful nail art does not have to be costly or complicated. Creativity, patience, and regular practice matter more than professional equipment. For anyone wondering how to do nail art at home without professional tools, start with simple designs, allow enough drying time, and enjoy the process instead of expecting perfection straight away.
Frequently Asked Questions
1. Can I really learn how to do nail art without professional tools?
Affirmative. Objects found at home can certainly produce dots, lines, flowers, and geometric motifs. In fact, the first successful designs I created were actually done with these simple household items.
2.What are the easiest nail art designs for beginners?
Dots, thin lines, small flowers, and accent nails are the easiest to start with. They need little skill and still look neat when finished. Tape-based geometric patterns are also beginner-friendly if you let the base color dry first.
3.How do I stop my nail art from smudging?
Apply thin coats of polish, wait for each layer to dry fully, and avoid touching your nails while they set. Thick layers are the main cause of smudging, so patience really helps.
4.How long should I wait before applying tape or decorations?
Allow the base coat to dry fully. This may take longer than you expect, but if the polish feels even slightly tacky, the tape may pull some of it off when removed. It is better to wait longer than necessary.
5.How can I make my homemade nail art last longer?
Clean your nails before painting, use thin coats, and finish with a clear top coat that covers the edge of the nail. Wearing gloves during chores also protects the design.
6.Should I decorate all my nails at once?
Not at first. Practicing on one accent nail saves time and reduces frustration. Once you feel comfortable, you can add more designs to other nails.
Final Thoughts
Learning how to do nail art at home was far easier and cheaper than I expected. A few everyday items, a bit of practice, and a relaxed attitude were enough to create designs I felt proud of. Begin with easy nail art designs, treat mistakes as part of learning, and let your confidence grow one nail at a time.

Modern Lifestyle Center is a fashion and beauty publication sharing the latest trends, beauty tips, nail art inspiration, personal styling, and lifestyle ideas. Our mission is to provide helpful, trustworthy, and inspiring content that enhances everyday beauty and personal style.