Your kitchen sink is one of the hardest-working spots in your home — and, according to studies on household germs, one of the dirtiest. Every day it comes into contact with raw meat juices, food scraps, greasy dishes, and standing water, which makes it a prime breeding ground for bacteria if it isn’t cleaned properly and regularly.
Table of Contents
The good news? Learning how to clean a kitchen sink the right way doesn’t require expensive products or hours of scrubbing. With a few household staples — dish soap, baking soda, vinegar, and the right technique — you can have a sink that looks (and smells) brand new in under 20 minutes.
In this guide, we’ll walk through the complete cleaning process for every type of sink material, plus four of the most searched-for sink cleaning topics: cleaning stainless steel sinks, removing hard water stains and limescale, disinfecting and deodorizing your sink, and unclogging a smelly drain.
Why Cleaning Your Kitchen Sink Regularly Matters
Before diving into the how-to, it helps to understand the why. Your sink drain and basin can harbor more bacteria per square inch than your toilet seat. Food particles get trapped around the drain, moisture lingers in corners, and the constant use means grease and soap scum build up fast. A dirty sink can lead to:
- Unpleasant odors that spread through your kitchen
- Cross-contamination of clean dishes and food
- Stains and discoloration that are harder to remove over time
- Clogged drains from grease and debris buildup
- A shortened lifespan for stainless steel, porcelain, or granite composite sinks
Cleaning your sink daily (a quick wipe-down) and deep cleaning it weekly is the simplest way to avoid all of these issues.
What You’ll Need
Before you start, gather these basic supplies:
- Dish soap or a mild all-purpose cleaner
- Baking soda
- White vinegar
- A soft sponge or non-abrasive scrub brush
- An old toothbrush (for tight corners and around the drain)
- Rubber gloves
- A microfiber cloth
- Optional: hydrogen peroxide, lemon, or a commercial disinfectant spray
How to Clean a Kitchen Sink: Step-by-Step
Step 1: Clear and Rinse
Remove all dishes, utensils, and food debris from the sink. Rinse the entire basin with hot water to loosen any loose particles and warm up the surface, which helps cleaning products work more effectively.
Step 2: Apply Dish Soap and Scrub
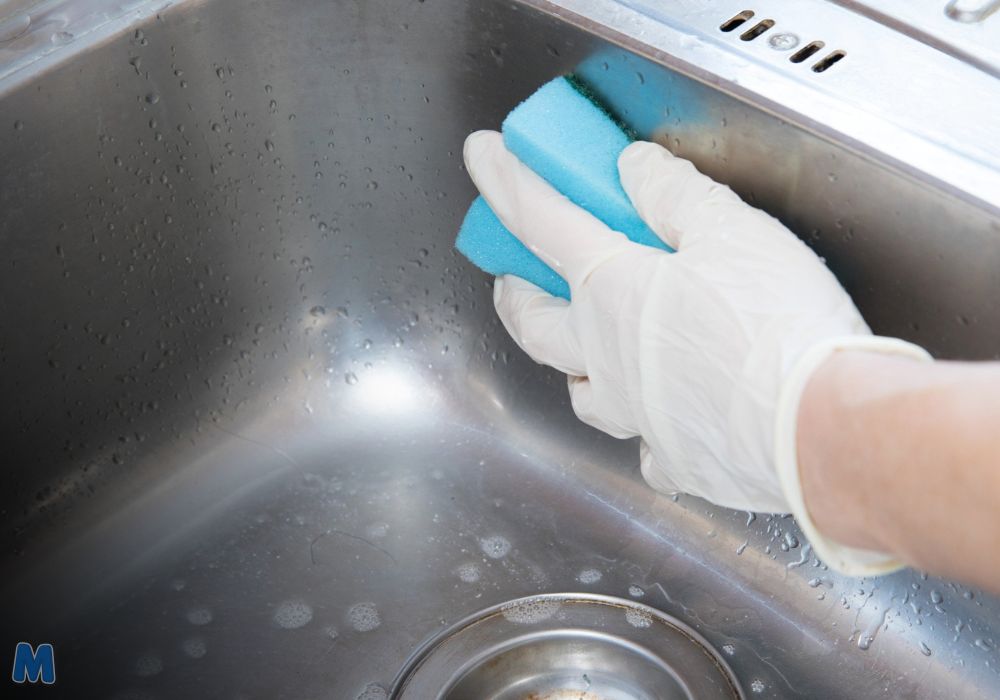
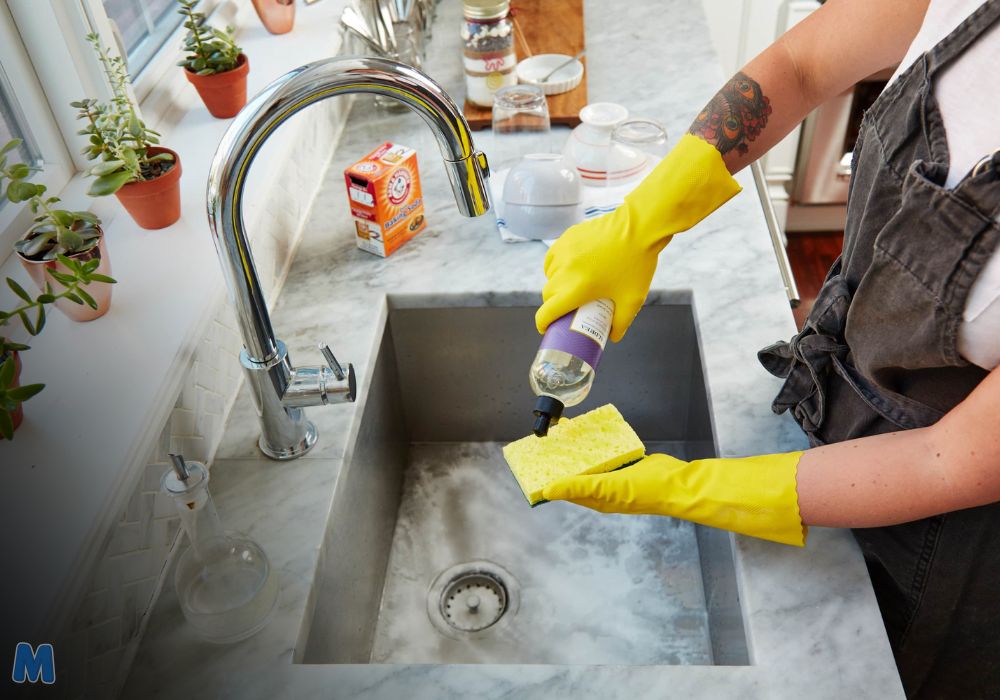
Squirt a generous amount of dish soap onto a damp sponge and scrub the entire sink, including the walls, basin floor, faucet base, and drain area. Dish soap is designed to cut through grease, so don’t skip this step even if the sink looks visibly clean.
Step 3: Tackle Stains and Buildup with Baking Soda
For a deeper clean, sprinkle baking soda generously across the surface of the sink. Baking soda is a gentle abrasive that lifts stains and grime without scratching most sink materials. Use a soft brush to work it into stained areas, paying extra attention to the area around the drain and any water spots.
Step 4: Rinse with Hot Water
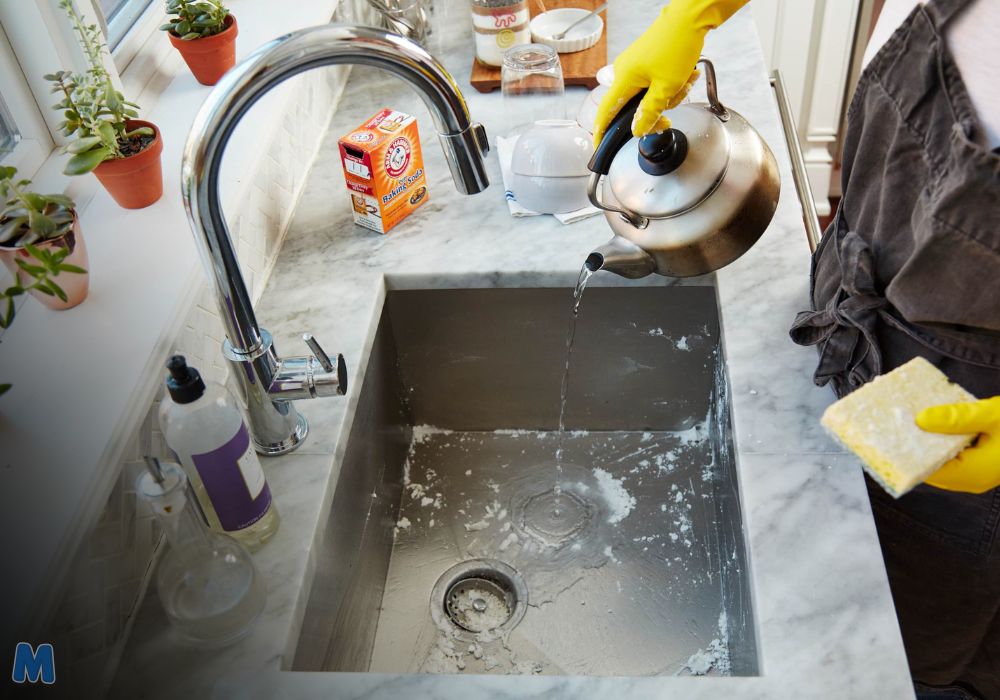
Once you’ve scrubbed the entire sink, rinse thoroughly with hot water from a kettle or the tap. Hot water helps dissolve any remaining soap residue and baking soda paste, leaving the surface clean and residue-free.
Step 5: Disinfect
After washing away grime, it’s time to kill germs. Spray the sink with a disinfecting solution — either a store-bought spray or a homemade mix of equal parts water and white vinegar. Let it sit for 5–10 minutes before wiping it down. Vinegar’s acidity helps kill bacteria and also cuts through any remaining soap scum or mineral deposits.
Step 6: Clean the Drain and Faucet
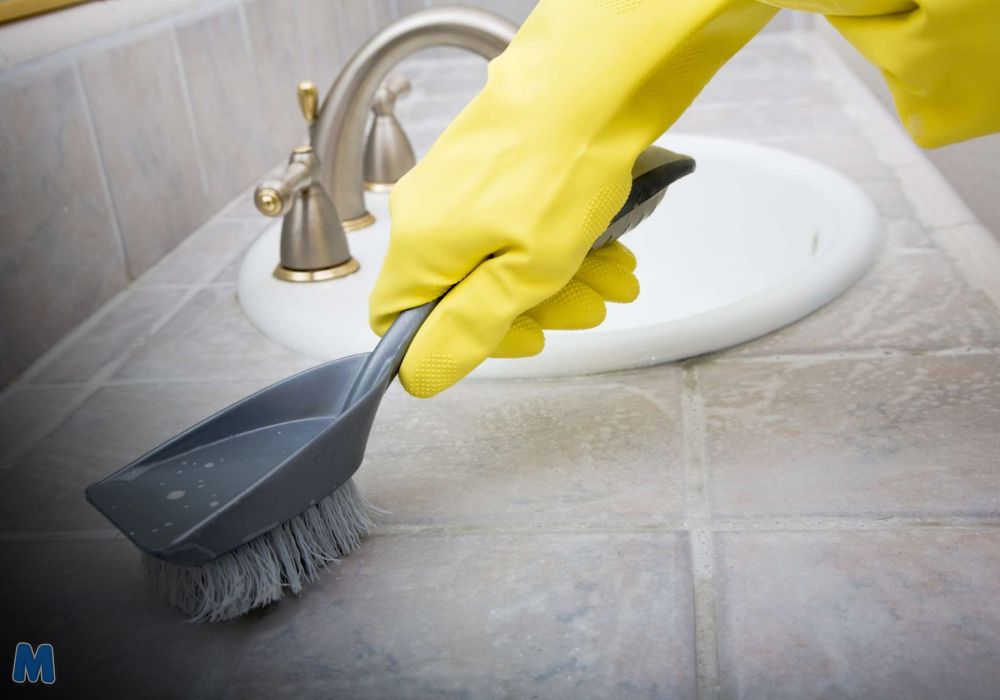
Don’t forget the small details that make the biggest difference in odor control. Use an old toothbrush or small scrub brush to clean around the drain opening, the faucet base, and any crevices where grime tends to hide.
Step 7: Dry and Shine
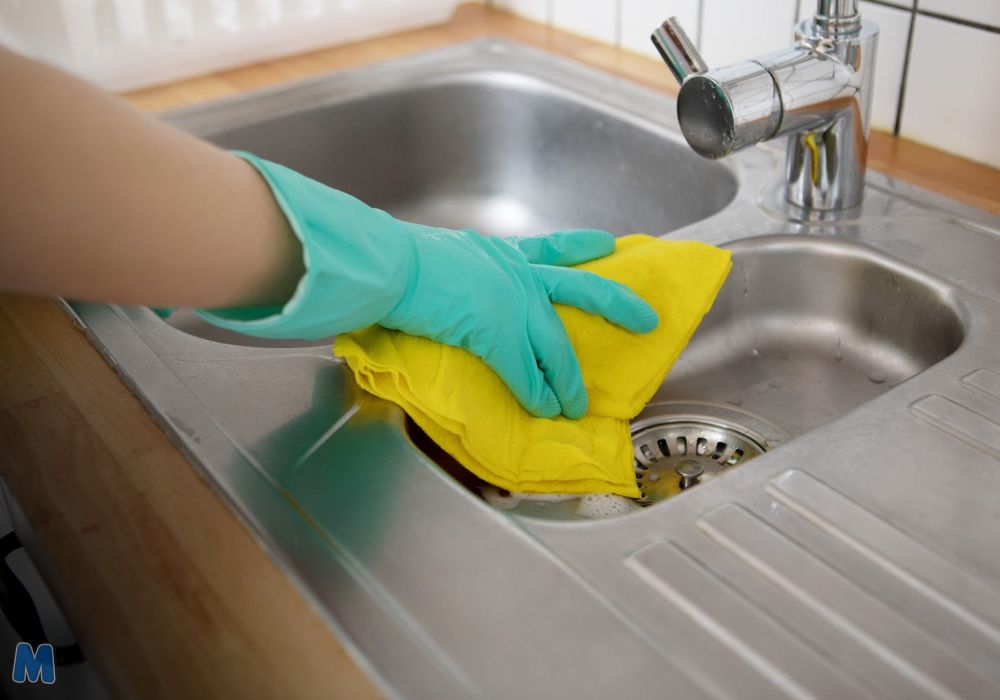
Finish by drying the sink completely with a microfiber cloth. This step is especially important for stainless steel sinks, since air-drying alone can leave water spots. Buffing the surface dry also brings out a natural shine.
How to Clean a Stainless Steel Kitchen Sink
Stainless steel is the most common sink material, prized for its durability — but it’s also notorious for showing water spots, streaks, and scratches. Here’s how to keep it looking polished:
- Wash with dish soap and warm water using a soft sponge, always scrubbing in the direction of the grain (stainless steel has faint linear grain lines, and scrubbing against them can dull the finish).
- Buff out water spots with a mixture of equal parts water and vinegar sprayed directly onto the surface, then wiped with a soft cloth.
- Restore shine by rubbing a small amount of olive oil or mineral oil onto a dry cloth and buffing the sink in circular motions. This creates a light protective layer that repels water spots and adds shine.
- Avoid abrasive tools like steel wool or scouring pads, which can permanently scratch the surface. Stick to soft sponges, microfiber cloths, or a baking soda paste for tougher spots.
- Wipe down daily after use to prevent water spots and soap scum from setting in — this small habit dramatically reduces the need for deep cleaning later.
How to Remove Hard Water Stains and Limescale from Your Sink
If you live in an area with hard water, you’ve probably noticed chalky white deposits or cloudy stains building up around your faucet and drain. This is limescale, caused by mineral deposits (mostly calcium and magnesium) left behind as hard water evaporates.
To remove hard water stains:
- Soak a paper towel or cloth in white vinegar and lay it directly over the stained areas for 15–30 minutes. The acidity in vinegar breaks down mineral deposits.
- For stubborn buildup, make a paste of baking soda and vinegar, apply it to the stains, and let it fizz and sit for 10 minutes before scrubbing gently.
- Rinse thoroughly and dry with a cloth to prevent new spots from forming immediately.
- For chronic hard water issues, consider a faucet aerator filter or a water softener, which will reduce mineral buildup throughout your home, not just in the sink.
Regular drying after each use is the single best prevention method — most hard water stains form because water is left to evaporate on the surface rather than being wiped away.
How to Disinfect and Deodorize Your Kitchen Sink
A clean-looking sink can still harbor bacteria and odors, especially around the drain. Disinfecting is a separate step from basic cleaning, and it’s essential for food safety.
Disinfecting steps:
- Clean the sink first using soap and water to remove visible grime (disinfectants work best on a surface that’s already physically clean).
- Spray the entire basin, drain, and faucet with a disinfecting solution — either a diluted bleach solution (1 tablespoon bleach per gallon of water) or a vinegar-based spray for a more natural option.
- Let the disinfectant sit for at least 5–10 minutes to allow it to kill bacteria effectively.
- Rinse thoroughly with hot water.
For lingering odors:
- Pour half a cup of baking soda down the drain, followed by a cup of white vinegar. Let the mixture fizz for 10–15 minutes, then flush with hot water.
- Grind a few ice cubes with citrus peels (lemon or orange) in the garbage disposal to freshen the drain and sharpen disposal blades at the same time.
- Run hot water down the drain for 30 seconds after each use to help flush away trapped food particles before they start to smell.
How to Unclog and Clean a Smelly Sink Drain
A sluggish or smelly drain is usually caused by a buildup of grease, soap residue, and food particles clinging to the pipe walls. Here’s how to clear it without harsh chemical drain cleaners:
- Boil water and carefully pour it down the drain to help melt and loosen grease buildup.
- Baking soda and vinegar flush: Pour ½ cup of baking soda down the drain, followed by 1 cup of vinegar. Cover the drain (a wet cloth works fine) and let it sit for 15 minutes — the chemical reaction helps break down grime.
- Follow with boiling water to flush the loosened debris through the pipes.
- Use a drain snake or bent wire hanger to physically pull out any hair, food, or debris clogging the trap if water is still draining slowly.
- Prevent future clogs by using a sink strainer to catch food particles before they go down the drain, and avoid pouring grease or coffee grounds down the sink.
If the smell or clog persists after these steps, it may indicate a deeper blockage or an issue with the P-trap, and it’s worth calling a plumber.
How Often Should You Clean Your Kitchen Sink?
For the best results, follow this simple cleaning schedule:
- Daily: Rinse and wipe down after each use; give it a quick soap scrub at the end of the day.
- Weekly: Do a full deep clean with baking soda and vinegar, including the drain and faucet.
- Monthly: Disinfect thoroughly and check for any early signs of mineral buildup or staining before they become difficult to remove.
Common Mistakes to Avoid
- Using steel wool or abrasive pads on stainless steel, porcelain, or composite granite sinks — these can scratch and dull the surface permanently.
- Leaving wet sponges or dishcloths in the sink — this creates a moist environment where bacteria thrive.
- Mixing bleach and vinegar — this combination creates toxic chlorine gas. Never use them together in the same cleaning session.
- Ignoring the drain and overflow holes — these hidden areas are often the biggest source of odor and bacteria.
- Skipping the drying step — this is the number one cause of water spots and streaks on stainless steel sinks.
Final Thoughts
Cleaning your kitchen sink doesn’t have to be a chore you dread. With a consistent routine — a quick daily wipe, a weekly deep clean, and regular attention to the drain — you can keep your sink spotless, odor-free, and hygienic without relying on harsh chemicals. Whether you have a stainless steel, porcelain, granite composite, or marble sink, the combination of dish soap, baking soda, and vinegar covers almost every cleaning need.
A little consistency goes a long way: the more regularly you clean your sink, the less effort each individual cleaning session takes.
Frequently Asked Questions (FAQs)
1. What is the best homemade cleaner for a kitchen sink? A mixture of baking soda and white vinegar is one of the most effective and affordable homemade cleaners. Baking soda acts as a gentle abrasive to lift stains, while vinegar’s acidity cuts through grease, soap scum, and mineral deposits. Together, they clean and deodorize without the need for harsh chemicals.
2. How do I get rid of the smell in my kitchen sink drain? Pour half a cup of baking soda down the drain followed by a cup of white vinegar, let it fizz for 10–15 minutes, then flush with hot water. Grinding citrus peels and ice cubes in the garbage disposal afterward can also help neutralize odors and freshen the drain.
3. Can I use bleach to clean my kitchen sink? Yes, a diluted bleach solution (about 1 tablespoon of bleach per gallon of water) can effectively disinfect a sink. However, never mix bleach with vinegar or other acidic cleaners, as this creates toxic fumes. Always rinse the sink thoroughly with water afterward.
4. Why does my stainless steel sink still look dull after cleaning? Dullness is often caused by water spots, soap residue, or scrubbing against the grain of the steel. Try wiping the sink dry after every use, buffing it with a vinegar-water solution, and finishing with a small amount of mineral or olive oil for extra shine.
5. How often should I deep clean my kitchen sink? A quick soap-and-water wipe-down should happen daily, but a full deep clean with baking soda, vinegar, and disinfectant should be done at least once a week to prevent buildup, stains, and bacterial growth.

Lahiru N Gamage is the founder and editor of Modern Lifestyle Center, a lifestyle publication focused on home decor, interior design, beauty, fashion, garden inspiration, and modern living ideas. Through carefully researched articles and practical guides, he helps readers discover creative ways to improve their homes and everyday lifestyles.
Modern Lifestyle Center is committed to providing informative, trustworthy, and inspiring content designed to help readers create beautiful, comfortable, and functional living spaces.