Gel manicures are popular for good reason. They stay glossy for two to three weeks, resist chipping, and save you from constant touch-ups. The trouble starts when it’s time to take them off. Many people know how to apply gel polish but have never been taught how to Remove Gel Nail Polish safely, and that gap is where most nail damage happens.I’ve been through the cycle of peeling, picking, and ending up with thin, bendy nails, and I’ve also learned how to do it properly. This guide shares what actually worked for me, so you can Remove Gel Nail Polish at home without sacrificing the health of your natural nails.
Why Removing Gel Polish Correctly Matters

Gel polish isn’t like regular lacquer. It’s cured under a UV or LED lamp, which hardens it into a durable, flexible layer that bonds firmly to the nail plate. That bond is what makes it last, and it’s also what makes careless removal so harmful.
When you pull or pick at gel, you rarely lift just the color. You often take microscopic layers of the natural nail with it. The result is white patches, rough texture, peeling at the tips, and nails that snap at the slightest pressure. Repeated over several manicures, this can leave your nails weak for months.
The biggest lesson I learned is that patience matters more than anything else. When the polish starts lifting at the edges, the urge to peel it is strong, but that moment of satisfaction costs your nails far more than the extra half hour a proper removal takes. Healthy natural nails are always worth more than speed.
Supplies You’ll Need Before You Start for Remove Gel Nail Polish
Gathering everything first keeps the process calm and stops you from improvising with a tool that could hurt your nails. Here is what I keep on hand:
- A nail file or buffer (180 grit works well for breaking the topcoat)
- 100% pure acetone
- Cotton balls or pads, cut or torn into nail-sized pieces
- Aluminum foil cut into squares, about 3 inches each
- A wooden cuticle stick or orange stick
- A soft nail buffer for smoothing afterward
- Cuticle oil
- A rich hand cream
- A small towel to protect your surface
Pure acetone matters here. Many “nail polish removers” are diluted or acetone-free, and they struggle against cured gel. They tend to make the process longer, which usually leads to frustration and scraping.
Step 1: Break the Seal of the Topcoat
Gel polish is sealed with a glossy topcoat that acetone can’t penetrate easily. If you skip this step, you’ll sit with soaked cotton for ages and see little change.
Take your file and gently remove the shine from the surface of each nail. You want the glossy finish to turn dull and slightly powdery. The key phrase is gently. I only file the polish itself, never pressing into the natural nail underneath. Once the shine is gone, the surface is ready to absorb acetone.
A common mistake is filing too aggressively because you want to speed things up. Over-filing thins the nail plate, which defeats the purpose of a gentle approach. If you notice the color of the nail changing or feel any heat from friction, ease off immediately.
Step 2: Protect Your Skin
Acetone is a strong solvent, and it dries out the skin around your nails quickly. Before you start, apply a layer of cuticle oil or petroleum jelly to the skin surrounding each nail, taking care not to get it on the nail surface itself, since it would block the acetone.
This small step makes a real difference in how your hands feel afterward. Skipping it is one reason many people end up with tight, white, flaky skin around their nails after a removal session.
Step 3: Soak and Wrap Each Nail
Saturate a piece of cotton with acetone until it’s thoroughly wet but not dripping. Place it directly on the nail so it covers the entire surface of the polish, then wrap the fingertip firmly in a square of aluminum foil. The foil holds the cotton in place and traps heat, which helps the acetone work faster and more evenly.
I do one hand at a time. Working on both hands at once sounds efficient, but it leaves you unable to adjust a loose wrap or manage the timing. Doing one hand also lets me check each nail more carefully.
If you’d rather skip the foil, small reusable clips and wraps are sold specifically for this purpose, and they work just as well. The principle is the same: keep acetone in constant contact with the polish.
Step 4: Check and wait, but don’t be in a hurry.
This is where the majority is. After about ten or fifteen minutes, I check one of my nails and try to find out what stage of the process the gel is at. The softened layer must look wrinkled and bubbly and begin to separate from the nail on its own.
If the gel looks even and firm, I will avoid scraping and pushing and instead keep the nail wrapped and let it stay for more time. Extra minutes are always kinder to your nails than extra pressure. Some of the harder-to-handle formulas do take about twenty minutes to do their job.
I also learned that not every gel product dissolves easily in acetone. Certain hard gels and builder gels are designed to be filed off rather than soaked. If you’ve been waiting a long time and the product isn’t budging, that’s a sign you may be dealing with one of these formulas. Forcing it won’t work, and it’s the point where professional removal becomes the smarter choice.
Step 5: Carefully Remove the Softened Gel
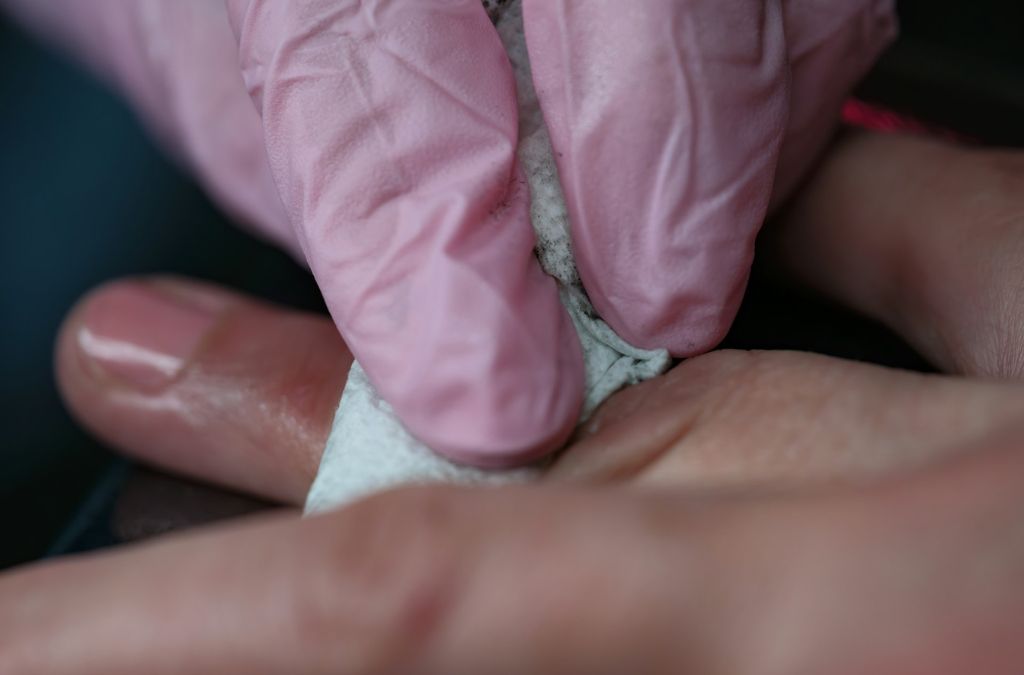
After the gel has been softened, one should take off the wrap around the fingers. The wooden stick is used to push the loose gel. The wooden stick should be moved from the base of the nail to the tip with slight pressure. The loosened product should peel off from the nail.
If there is any sort of resistance, one should not continue. The area that is hard to remove will require more soaking, and the gel nail polish must be rewrapped for 5 minutes. The usage of metallic tools is considered risky because the nail can be ruined easily. It is important to always have a stick made of wood in hand.
Take one finger/nail at a time and make sure you always have the wraps around all the other fingers so that acetone will still be effective.
Step 6: Smooth and Clean the Nail Surface
After all the gel is off, you may notice a few thin traces of leftover product or slight roughness. Take a soft buffer and gently smooth the surface with a few light strokes. The goal is just to even out the texture, not to remove nail.
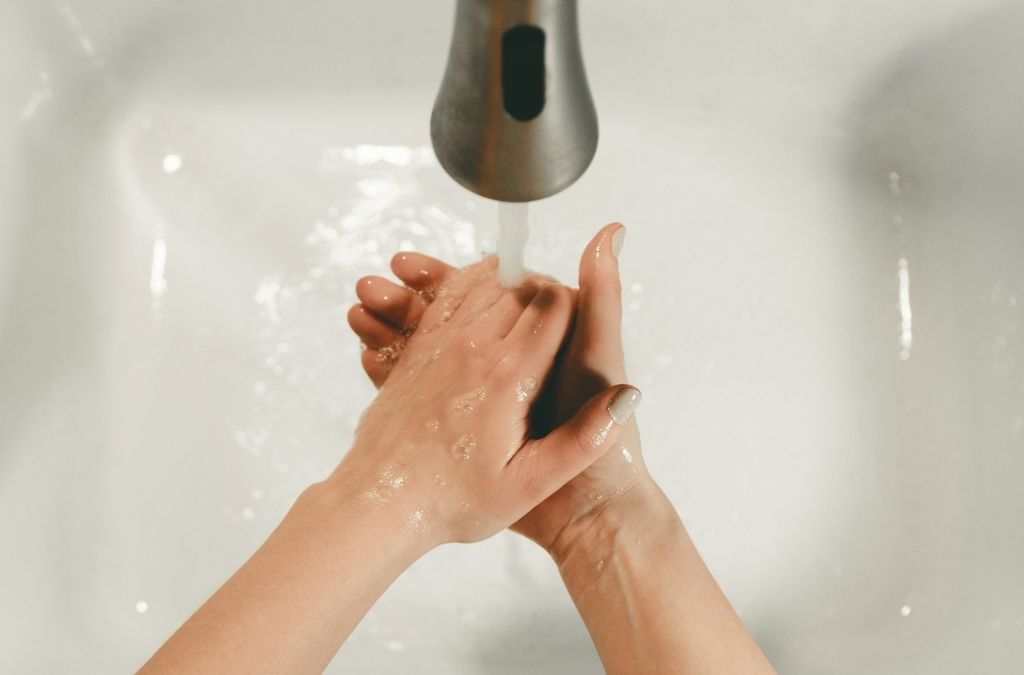
Then wash your hands with a mild soap and warm water to clear away acetone residue. Pat them dry. At this stage your nails may look slightly dull or whitish, which is just temporary dehydration from the acetone, not permanent damage.
Step 7: Hydrate and Feed Your Nails
Just as important as the removal process is aftercare. Acetone dries both your nails and skin, making it necessary for you to restore moisture. Use cuticle oil around your nails to help with the absorption of moisture and apply appropriate lotion afterwards.
This has become an important routine in my life. After I started applying oil to my nails after every removal session, I noticed how flexible and healthy-looking my nails were after a couple of weeks. Look for oil products containing jojoba oil, vitamin E, or sweet almond oil, known for their high absorption capability and helping to keep your nails nice and soft.
Common Errors That Can Cause Damages To Nails During Removal
Even when you have followed all the steps, certain habits might ruin your efforts. Here are some mistakes to avoid:
Removing the polish. This is by far the worst thing you can do because it removes layers of the nail along with the gel.
Excessive filing. You need to remove only the shiny surface. Deeper filing is not necessary, and it can make your natural nails weak.
Using an ineffective remover. Non-acetone products take time to remove the polish or tempt to scrape it.
Neglecting post-removal care. If your fingers are dry, then make sure to put oil and cream after removing the polish from your nails.
Soaking too long. Although patience is very important, keeping the gel polish for more than one hour will dry the nails completely. Thus, remember to monitor the process carefully.
Applying a new coat of gel polish immediately.
Should You Remove Gel Polish Yourself or Go to the Salon?
When it comes to choosing between the two methods of removing gel nails, either option has its advocates. If you do it at home, you can save money and take your time on this assignment.
A salon is the better route in a few cases. If you have hard gel, builder gel, or acrylic extensions, a technician can use an electric file safely and avoid damage. If the polish is thick, heavily layered, or has been on for much longer than usual, a professional can also save you time and frustration. And if your nails are already weak, learning when to ask for help is just as valuable as mastering the home method.
Ways to Maintain Healthy Nails Between Gel Manicures
Your nail treatment habits between manicures can significantly determine how your nails fare during health recovery processes. Below are a few suggestions that work well for me:
Apply cuticle oil daily to condition your nails, not only after removal of the polish. Wear gloves while doing dishes or cleaning, since the nails may get softened due to water exposure. Try using your nails for scratching or prying up, but don’t do that. Be sure to eat a healthy diet that gives you enough protein, as your nails are made of keratin. You may also want to give your nails a break every three to four manicures; for example, if your nails look thinner, lift or peel.
Troubleshooting: What If Something Goes Wrong?
Sometimes, despite your best efforts, the gel is stubborn or your nails feel sore. Here’s how I handle common problems.
If the gel won’t soften after 20 minutes, check that you removed the topcoat shine thoroughly and that your acetone is pure. Fresh cotton and a tight wrap often solve the issue. If it still doesn’t budge, you may be dealing with a hard gel, and professional help is the best move.
If your nails feel thin or flexible afterward, treat them gently. Skip new gel for a few weeks, keep them short, and use oil and a strengthening treatment regularly. Nails grow out slowly, so recovery takes time, but consistent care helps.
If your skin becomes red or irritated, rinse with cool water, moisturize generously, and avoid further acetone exposure until it calms down. Persistent irritation or signs of infection around the nail deserve attention from a doctor.
In conclusion
In a nutshell, making one’s way through the process of removing gel nail polish at home is mainly about changing the perspective. Speed is an enemy of healthy nails. In case one files gently and prepares the gel properly by using a cotton soaked in acetone and foil, checks the timing correctly, and finishes the procedure with oil and lotion, natural nails will stay healthy and beautiful.
The most important lesson I’ve learned is that healthy natural nails are more important than removing gel nails quickly. Some extra time, some patience, and readiness to contact professionals in difficult cases can do much more for one’s nails than shortcuts.

Modern Lifestyle Center is a fashion and beauty publication sharing the latest trends, beauty tips, nail art inspiration, personal styling, and lifestyle ideas. Our mission is to provide helpful, trustworthy, and inspiring content that enhances everyday beauty and personal style.