
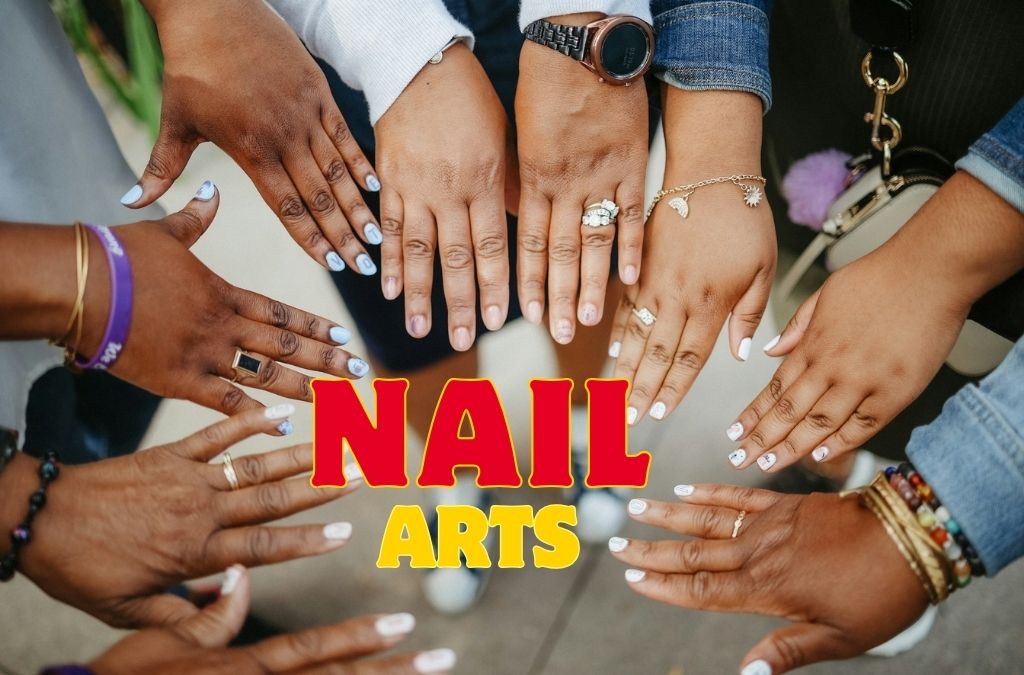
When I first became interested in nail art, I believed beautiful designs needed professional skills, expensive tools, and years of practice. I spent hours admiring creative manicures online, then sat down at my own table and ended up with uneven lines, smudged polish, and a lot of frustration. Every time I tried to make all ten nails look perfect, I made them worse.
What changed everything was discovering easy nail art. Once I stopped chasing salon-level perfection and started with simple techniques, my results improved quickly, and I began to enjoy the process. In this guide, I’m sharing 10 easy nail art ideas that I tested at home, along with the mistakes I made and what I learned from them. If you’ve ever felt nail art was too difficult for you, I hope this changes your mind.
Why Easy Nail Art Is the Best Place to Start
Many beginners make the same mistake I did: they pick a complicated design because it looks impressive in a photo. Detailed patterns need steady hands, precise brushes, and a lot of patience. Without those, the result often looks messy, and that can make you give up.
Easy nail art works because it builds your control and confidence step by step. Designs like polka dots, French tips, and accent nails use basic movements that almost anyone can master. They also need very little equipment. Most of what I use today is already in my house: a toothpick, a roll of tape, a makeup sponge, and a few affordable polishes.
Another thing I noticed is that simple designs often look more elegant. A clean two-color pattern can look more polished than a crowded design with five colors fighting for attention. Keeping things minimal lets the colors and shapes stand out.
What You Need Before You Begin
It is not necessary to have an expensive and large kit right at the beginning. Initially, I started with a base coat, different colors of nail polish that I liked, a top coat, a toothpick, thin tape, and a tiny makeup sponge. Using some cotton to clean afterward is also a good idea. If later on, you find that you would like more control, you could buy an inexpensive thin brush or a dotting tool.
Make sure that you are in good light and have plenty of time. Rushing was my biggest problem in the beginning.
10 Easy Nail Art Ideas for Beginners
01.Classic Polka Dots
Polka dots were the first design where I felt I’d actually succeeded. Paint your nails in a solid base color and let them dry completely. Then dip the tip of a toothpick into a contrasting polish and gently press it onto the nail to make a dot. Wiping the toothpick between dots keeps them neat and evenly sized. I love white dots on a soft pink base, but black on Nutral also looks stylish. The most important thing I learned is to use only a tiny amount of polish on the toothpick, because too much creates blobs instead of dots.
02.Simple French Tips
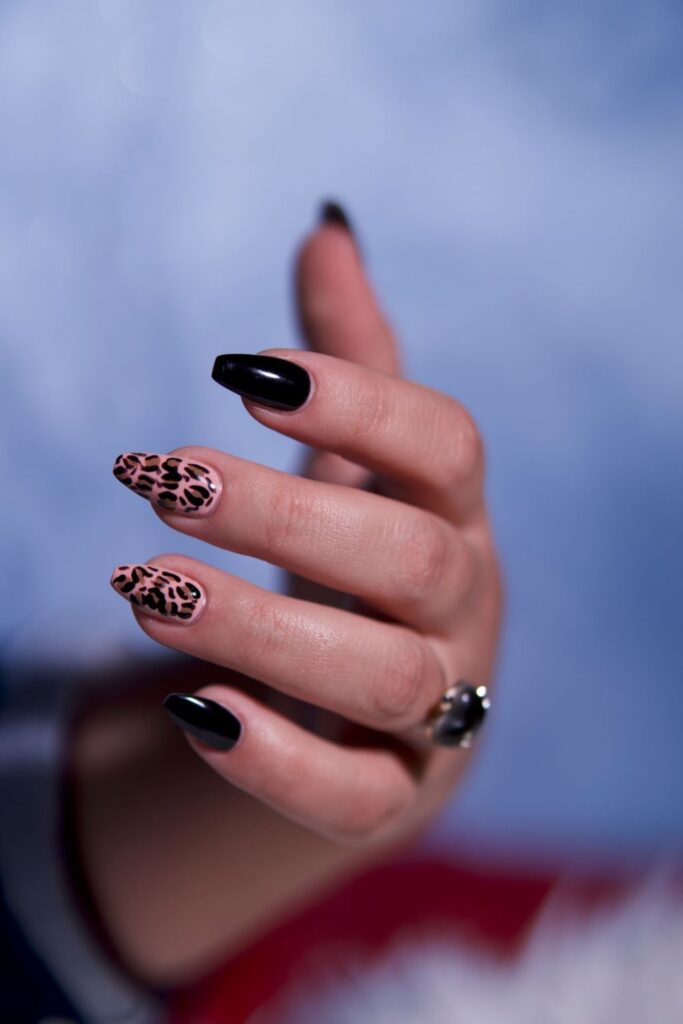
French tips look classy, and the simple version isn’t hard. After applying a sheer pink or Nutral base, paint a thin white line across the tip of each nail. Beginners often struggle with the curve, so I started using small tip guide stickers, and later I switched to a steady brush stroke. If your lines aren’t perfectly even, don’t worry. A clear top coat helps blend small flaws. For a fresh twist, try colored French tips in pastel blue, lavender, or peach.
03.Tiny Toothpick Flowers
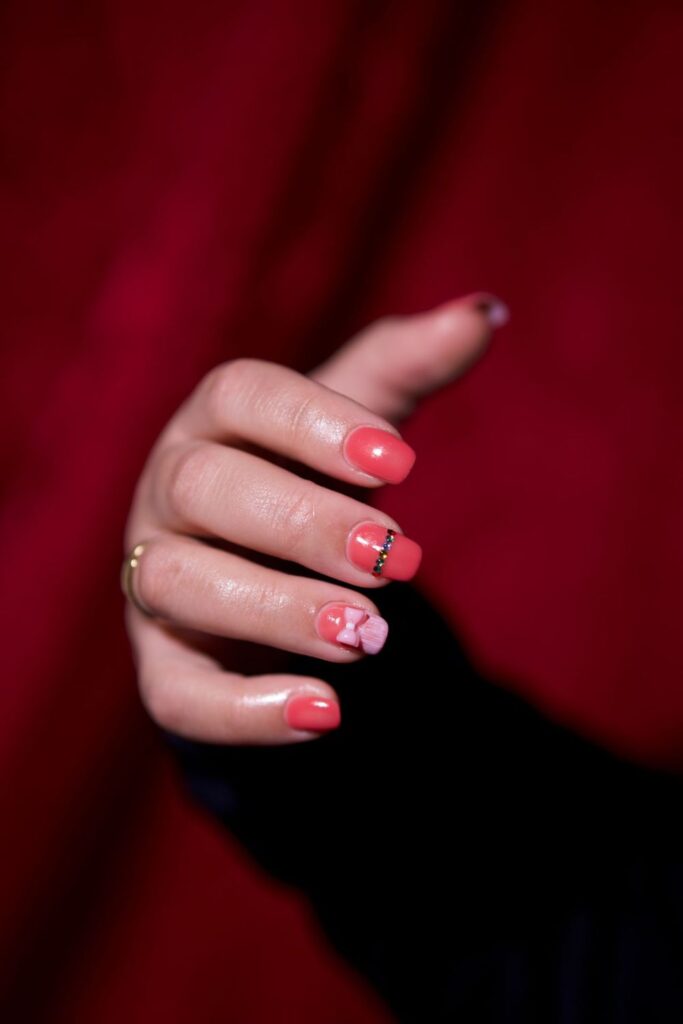
This was one of my favorite discoveries because it looks far more advanced than it is. Place five small dots in a circle on your nail to form petals, then add a single dot in the middle in a different color. That’s it: a tiny flower. Scatter two or three of them across a light base color, and you have a sweet spring-style design. I usually do flowers on just one or two nails so the manicure stays balanced.
04.The Accent Nail
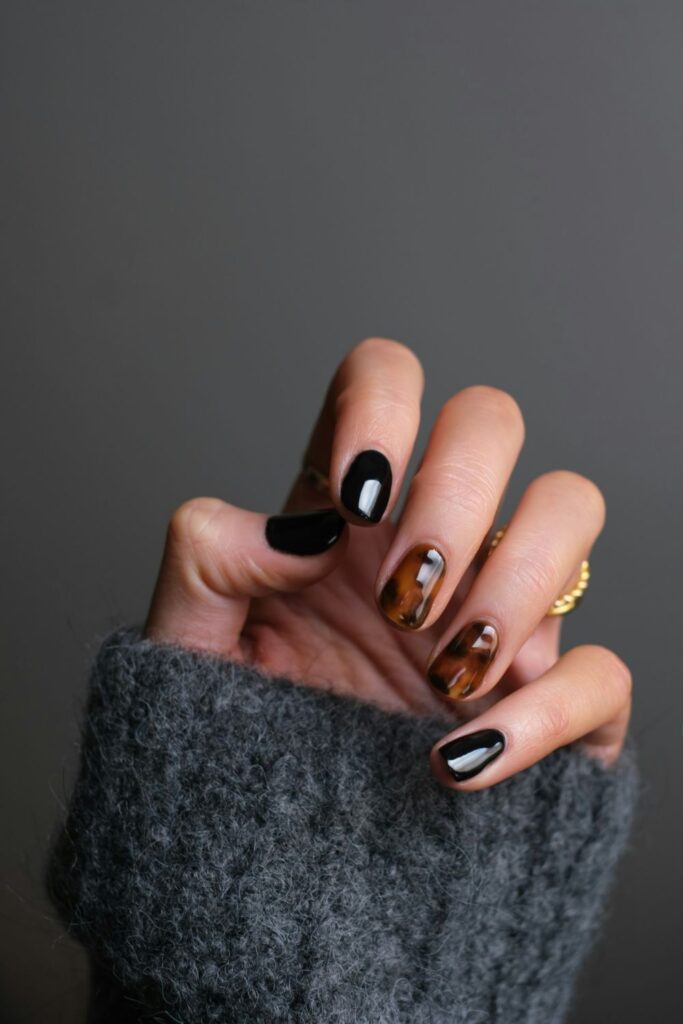
If you’re nervous about decorating every finger, the accent nail is perfect. Paint all your nails in one color, then make the ring finger different. It can be a contrasting shade, a glitter polish, or a simple dot pattern. This gives you a stylish look with only one nail to design, which makes it ideal for practicing. I often use an accent nail when I’m testing a new technique before trying it on the full hand.
05.Striped Tape Design
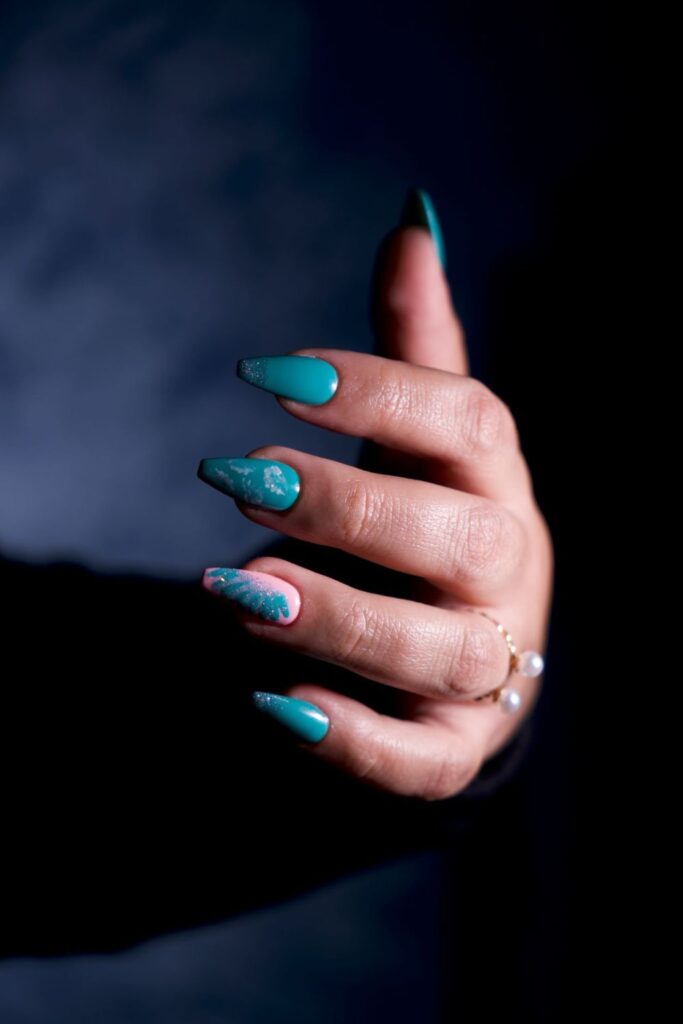
For me, tape has been a real revolution. Once the base coat is completely dried, you need to put thin strips of tape on the nail in straight or diagonal patterns. Then apply the second nail polish to the uncovered area of the nail and quickly peel the tape off the nail when the polish hasn’t completely dried. You will get a clear geometry in the result. You should make sure that the base color is completely dry; otherwise, all the polish will be peeled from the nail.
06. Soft Sponge Gradient
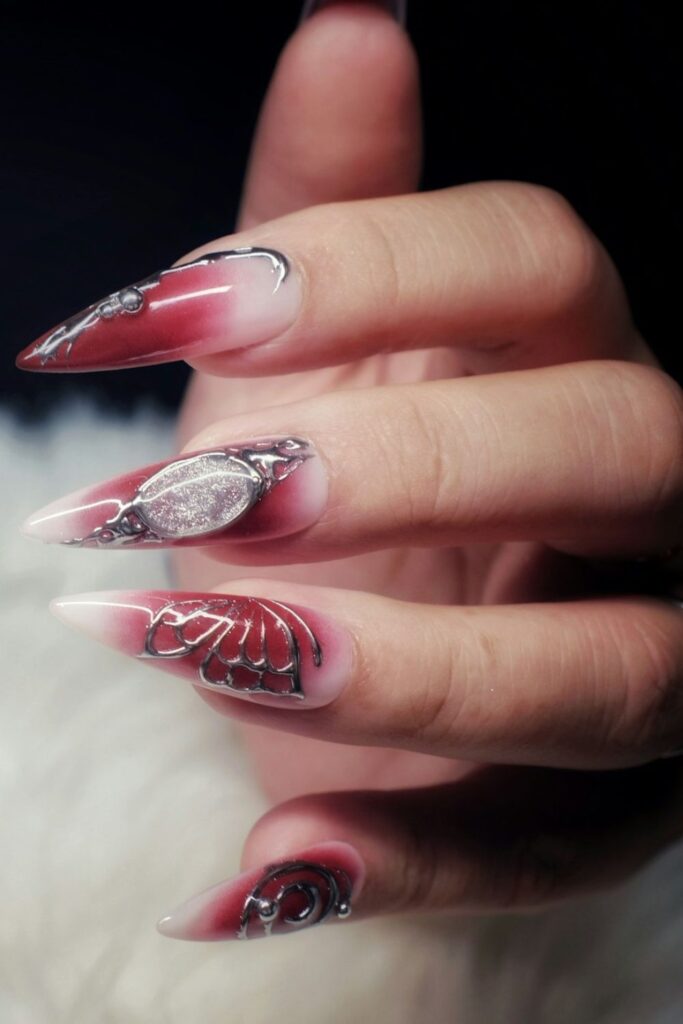
The ombré effect appears difficult, but the sponge does the bulk of the task for you. Apply two polishes side by side on the sponge and stamp it onto the nail, gently bouncing for the colors to mix properly. Personally, I found the best colors work together are closely similar ones such as pale pink and peach, or sky blue and white. You may have to repeat the process two or three times and finish off with a top coat.
07.Small Hearts
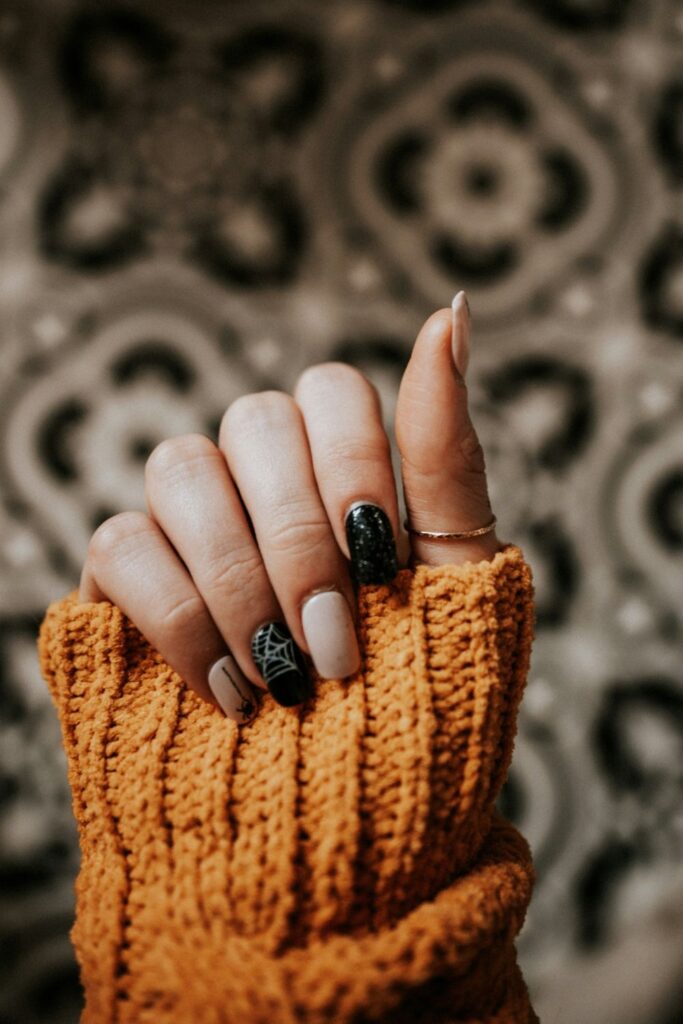
Hearts are friendly and fun, and they’re easier than they seem. Make two dots next to each other, then drag the toothpick downward from the dots to a point at the bottom. The two dots become the top curves of the heart. I practiced this on paper first and then on one nail. Red hearts on a white base are classic, but pastel pink on a clear base looks beautiful too.
08.Minimal Line Art
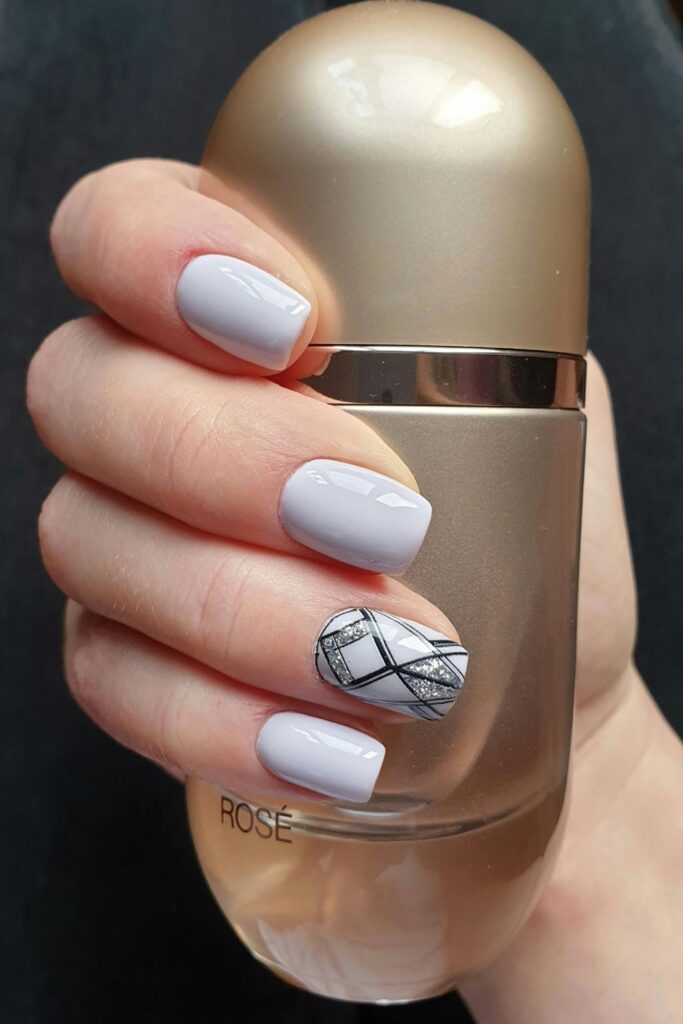
For a modern look, try a single thin line or a simple curve across a neutral nail. A long, fine nail art brush works best, but I also made lines using the edge of a piece of tape or a thin toothpick tip. Think one gold line on a Nutral base, or a delicate black swirl on white. This style rewards patience, and it’s a great way to practice steady movements without needing a lot of colors.
09.Glitter Tips
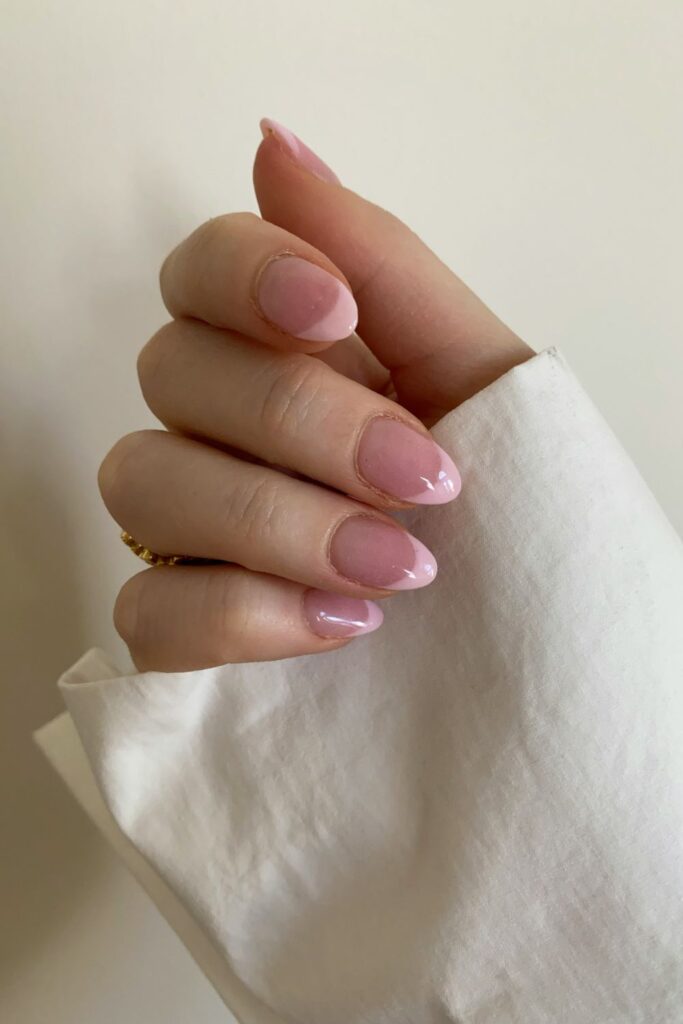
Glitter is very forgiving, which makes it perfect for beginners. Apply a base color, then brush glitter polish only on the tips, or fade it upward from the tip toward the middle. The sparkle hides small imperfections, so you can get a dazzling result even if your hands aren’t perfectly steady. I like using a gold or silver glitter over a soft neutral for a party-ready look that still feels elegant.
10.Half-Moon Nails
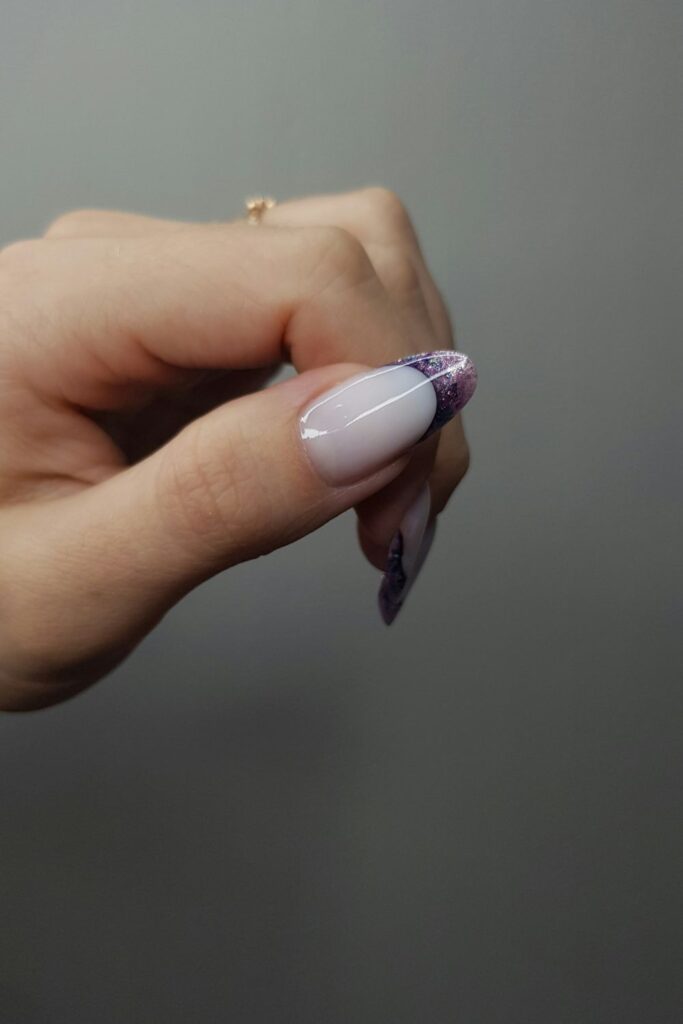
The half-moon design leaves a small curved area near the cuticle unpainted or painted in a contrasting color. Reinforcement stickers, the little rings used for paper, can be placed at the base of your nail as a guide. Paint over the nail, remove the sticker, and you’re left with a perfect crescent. It looks unique and tidy, and it also helps with grow-out because the area near the cuticle isn’t as visible as the nail grows.
What I Learned From My First Nail Art Attempts
When I look back, I can see how my early errors taught me much more than any tutorial could. Following are the tips that have helped me most in my journey:
- Start with simple designs like polka dots, tiny hearts, and simple accent nails. They are easier to create than complex designs.
- Use cheap tools such as toothpicks, tape, and makeup sponges. These will help you to master nail art as an amateur artist.
- Use thin layers of polish. As a result, you can avoid smudging and have a nice finish.
- Try your design on one nail first. This helps you to save time and effort and avoid unnecessary frustrations.
- Finish with a top coat. A good top coat gives protective gloss to your nail art and makes it last longer.
My Biggest Mistake: Thick Polish
One mistake I repeated again and again was applying thick layers of polish. I wanted the color to look bold right away, so I loaded the brush. The result was the opposite of what I wanted: long drying times, dented surfaces, and smudges the moment I touched anything. When I switched to thin layers and gave each coat a few minutes to dry, my nails looked noticeably smoother and cleaner. It’s a small change, but it improved my nail art more than any new tool.
I also learned to match designs to my skill level. When I tried to use four or five colors in one manicure, the nails looked busy and uneven. Choosing two complementary colors made my work look intentional and elegant. Over time, I started adding a third color only after I felt confident with the first two.
Perfection Isn’t the Goal
My biggest discovery was that beautiful nail art does not have to be perfect. Small wobbles in a line or a dot that’s slightly off-center are part of learning, and most people never notice them. Every attempt improves your control and creativity. Once I let go of the pressure to be flawless, nail art became a relaxing hobby instead of a stressful task.
Simple Tips to Make Your Easy Nail Art Last Longer
No matter how nicely the nail is designed, preparation is just as important as the design. Begin with clean, dry nails and apply the base coat before anything else, as this will make the nail polish stay longer and save the natural nails from becoming yellow. Wait for every coat to dry properly before moving on in order to achieve the best result. Apply the top coat thoroughly and avoid chipping your nails by protecting them from water for a long time. In case you get a chip, simply apply a little bit of nail polish and a fresh top coat.
My Advice for Anyone Trying Nail Art for the First Time
If you’re just beginning, don’t worry about getting salon-quality results right away. Choose one or two easy nail art ideas from this list, practice with colors you love, and slowly try new techniques as your confidence grows. Basic tools, affordable polish, and a bit of patience are all you need. The best part of DIY nail art is the freedom to express your personal style while learning something creative at home.
Frequently Asked Questions (FAQ)
01.What is the easiest nail art for beginners?
Polka dots, accent nails, and simple French tips are the easiest options. They use basic movements and very few tools, so you can get neat results even on your first try.
02.Do I need special tools to start easy nail art?
No. A toothpick, tape, and a makeup sponge can create many designs. Later, you can add a dotting tool or a thin nail art brush if you want more precision.
03.How can I prevent my nail polish from smearing?
One should apply thin coats of polish and allow each one to dry before putting on another layer. The thicker the coat, the longer it takes to dry, resulting in the greatest number of smudges.
04.When can I apply my top coat?
Top coats should only be applied when the design is dry enough to the touch, which is typically only a few minutes after the final coat has been added. If applied too soon, the design will be wrecked.
05.What can be done in order to make nail art durable?
Always use a base coat, apply polish in thin layers, and complete the design with a top coat. In addition, wearing gloves when cleaning also helps keep chipping at bay.

Modern Lifestyle Center is a fashion and beauty publication sharing the latest trends, beauty tips, nail art inspiration, personal styling, and lifestyle ideas. Our mission is to provide helpful, trustworthy, and inspiring content that enhances everyday beauty and personal style.